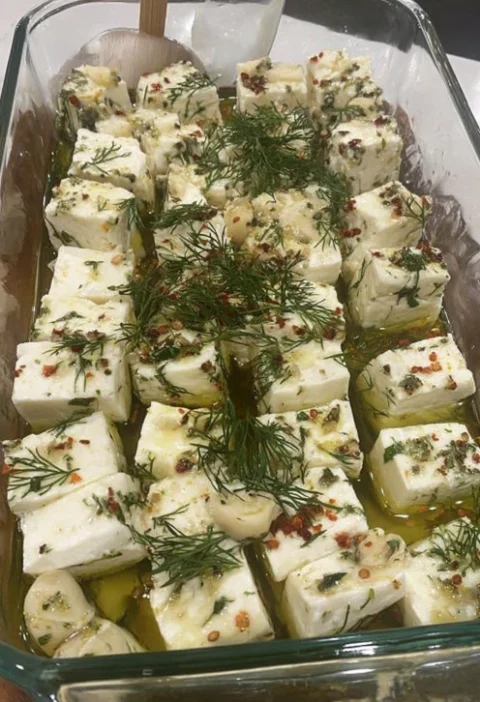
Elevate Your Biscuit Game with Garlicky Butter Bath Biscuits
Prepare to tantalize your taste buds with a culinary delight that’s both buttery and garlicky! Our Garlicky Butter Bath Biscuits are a heavenly creation that combines the fluffiness of biscuits with the savory goodness of garlic and butter. Each bite is a symphony of flavors, making these biscuits perfect for breakfast, brunch, or as a side dish to any meal. With simple ingredients and easy-to-follow instructions, you’ll soon be savoring the irresistible aroma of freshly baked biscuits in your own kitchen. So let’s dive in and discover how to create these mouthwatering Garlicky Butter Bath Biscuits!
Ingredients:
- 5 cups all-purpose flour
- 4 cups buttermilk
- 1 cup (2 sticks) butter, melted
- 2 ½ tablespoons baking powder
- 3 tablespoons sugar
- 1 ½ tablespoons salt
- 1 1/2 teaspoons garlic powder, divided
- 2 teaspoons Italian seasoning
Instructions:
- Preheat the Oven: Start by preheating your oven to 425°F (220°C) and greasing a baking dish or cast-iron skillet with butter or cooking spray.
- Mix Dry Ingredients: In a large mixing bowl, combine the all-purpose flour, baking powder, sugar, salt, 1 teaspoon of garlic powder, and Italian seasoning. Mix well to ensure the ingredients are evenly distributed.
- Add Buttermilk: Gradually pour the buttermilk into the dry ingredients, stirring gently until a soft dough forms. Be careful not to overmix, as this can result in tough biscuits.
- Form Biscuits: Turn the dough out onto a lightly floured surface and knead it gently a few times until it comes together. Pat the dough into a rectangle, about 1 inch thick.
- Cut Biscuits: Using a biscuit cutter or a sharp knife, cut the dough into individual biscuits. Place the biscuits in the prepared baking dish or skillet, arranging them slightly apart from each other.
- Prepare Garlic Butter Bath: In a small bowl, mix together the melted butter and remaining 1/2 teaspoon of garlic powder.
- Brush Biscuits: Brush the tops of the biscuits generously with the garlic butter mixture, ensuring that each biscuit is coated evenly.
- Bake to Perfection: Place the baking dish or skillet in the preheated oven and bake for 15-20 minutes, or until the biscuits are golden brown and cooked through.
- Serve Warm: Remove the biscuits from the oven and let them cool slightly before serving. Serve them warm, with extra garlic butter on the side for dipping if desired.
Cook Notes and Variations:
- Cheesy Variation: For an extra indulgent twist, sprinkle grated cheese over the tops of the biscuits before baking for cheesy garlic biscuits.
- Herb Infusion: Experiment with different herbs and spices such as rosemary, thyme, or parsley to customize the flavor profile of the biscuits.
- Sweet and Savory: Add a touch of honey or maple syrup to the garlic butter mixture for a sweet and savory flavor combination.
Frequently Asked Questions (FAQs):
Q: Can I use regular milk instead of buttermilk? A: While buttermilk is preferred for its tangy flavor and acidity, you can substitute it with regular milk in a pinch. However, the texture and taste of the biscuits may differ slightly.
Q: Can I freeze the unbaked biscuits for later? A: Yes, you can prepare the biscuits up to the point of cutting them and freeze them on a baking sheet. Once frozen, transfer them to a resealable plastic bag or container and store them in the freezer for up to 3 months. Bake them directly from frozen, adding a few extra minutes to the baking time.
Q: How do I store leftover biscuits? A: Store any leftover biscuits in an airtight container at room temperature for up to 3 days. Reheat them in the oven or microwave before serving to restore their freshness.
Q: Can I make these biscuits ahead of time? A: Yes, you can prepare the biscuit dough ahead of time and refrigerate it for up to 24 hours before baking. Simply cover the dough tightly with plastic wrap and let it come to room temperature before shaping and baking.
Q: Can I make smaller biscuits for bite-sized servings? A: Absolutely! You can use a smaller biscuit cutter or shape the dough into smaller rounds for bite-sized biscuits. Adjust the baking time accordingly to ensure they are cooked through.
Keto and Low-Carb Versions:
- Keto Option: Substitute almond flour or coconut flour for the all-purpose flour to make a keto-friendly version of these biscuits. Use full-fat buttermilk and opt for a keto-friendly sweetener such as erythritol or stevia in place of sugar.
- Low-Carb Variation: Similarly, use almond flour or coconut flour and a low-carb sweetener to reduce the carb content of the biscuits. Be mindful of portion sizes to keep the overall carb count low.
Conclusion:
In conclusion, Garlicky Butter Bath Biscuits are a delectable addition to any meal. With their fluffy texture, savory garlic butter flavor, and golden-brown crust, they’re sure to be a hit with everyone at the table. Whether served alongside a hearty stew, as a side dish for dinner, or enjoyed as a savory snack, these biscuits are a versatile and delicious treat. So why wait? Get ready to indulge in the irresistible allure of Garlicky Butter Bath Biscuits and elevate your biscuit game to new heights!
Savor the buttery goodness and aromatic garlic of Garlicky Butter Bath Biscuits—a delightful treat that’s perfect for any occasion. With their simplicity and sensational taste, they’re bound to become a staple in your recipe repertoire. So gather your ingredients and let the baking begin! Until next time, happy cooking!
With detailed instructions, FAQs, and variations, you’re all set to create scrumptious Garlicky Butter Bath Biscuits! Let me know if you need further assistance or if there’s anything else I can assist you with!

