If you’ve been searching for the best homemade chocolate cake recipe, you’ve just found it. This Hershey’s Chocolate Cake is a classic. It’s incredibly moist, rich in cocoa flavor, and made from scratch with simple ingredients you probably already have at home.
Whether you’re baking for a birthday, holiday, or just because—it never fails to impress. Let’s dive into what makes this chocolate cake so beloved across generations.
Why This Hershey’s Chocolate Cake Is a Must-Try
This cake has stood the test of time. It’s the kind of dessert your mom or grandma might have baked for Sunday dinner. Here’s why people love it:
Uses pantry staples like flour, sugar, cocoa, and eggs
Made with unsweetened cocoa powder—no fancy chocolate required
Incredibly moist and tender crumb
Pairs perfectly with rich chocolate frosting
Bakes evenly in round, square, or sheet cake pans
Easy enough for beginners, yet perfect for seasoned bakers
It’s also one of the most-searched-for homemade chocolate cake recipes online. If you’re into easy cake recipes, classic desserts, or just love homemade chocolate cake, this one’s for you.
Ingredients You’ll Need
The original Hershey’s Chocolate Cake recipe calls for basic, everyday ingredients:
For the Cake:
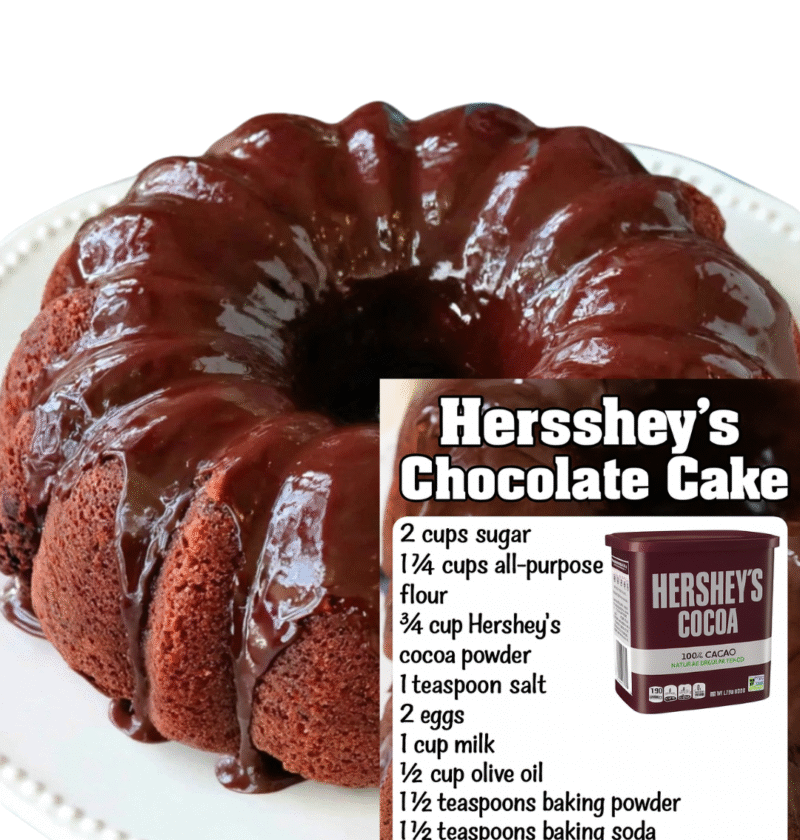
2 cups granulated sugar
1¾ cups all-purpose flour
¾ cup Hershey’s cocoa powder (unsweetened)
1½ tsp baking powder
1½ tsp baking soda
1 tsp salt
2 large eggs
1 cup milk
½ cup vegetable oil
2 tsp vanilla extract
1 cup boiling water
For the Chocolate Frosting:
½ cup butter (1 stick), softened
⅔ cup Hershey’s cocoa powder
3 cups powdered sugar
⅓ cup milk (add more if needed)
1 tsp vanilla extract
Pro tip: Use high-quality cocoa for the richest flavor. Hershey’s Special Dark also works if you prefer a deeper, more intense taste.
Step-by-Step Instructions
1. Preheat and Prep
Set your oven to 350°F (175°C). Grease and flour two 9-inch round cake pans or one 9×13 inch pan.
2. Mix Dry Ingredients
In a large bowl, whisk together sugar, flour, cocoa, baking powder, baking soda, and salt.
3. Add Wet Ingredients
Add eggs, milk, oil, and vanilla to the dry mixture. Beat with a mixer on medium speed for 2 minutes.
4. Stir in Boiling Water
Stir in the boiling water last. The batter will be thin—this is what gives it a moist texture.
5. Bake
Pour batter evenly into pans. Bake for 30–35 minutes (round pans) or 35–40 minutes (9×13 pan) or until a toothpick inserted comes out clean.
6. Cool
Let cakes cool in the pans for 10 minutes, then remove from pans and let them cool completely on wire racks.
7. Frost
Prepare the frosting by creaming the butter and cocoa together. Add powdered sugar and milk alternately, beating to your desired consistency. Stir in vanilla. Frost cooled cake.
Tips for Success
Use Fresh Ingredients
Old baking soda or eggs can affect the rise and texture. Always check expiration dates.
Don’t Skip the Boiling Water
It enhances the cocoa flavor and makes the cake incredibly moist.
Cool Completely Before Frosting
Trying to frost a warm cake will melt your frosting and make it slide off.
Recipe Variations
1. Hershey’s Chocolate Cupcakes
Use the same batter to make 24 cupcakes. Bake at 350°F for 22–25 minutes.
2. Add Coffee
Replace half the boiling water with strong black coffee to deepen the chocolate flavor.
3. Make It a Layer Cake
Slice each round cake in half for four layers, then frost in between for extra decadence.
4. Add Fillings
Layer with chocolate ganache, raspberry jam, or even whipped cream for a twist.
Frequently Asked Questions
Can I use Dutch-processed cocoa powder?
This recipe is developed for natural cocoa like Hershey’s. Dutch cocoa may alter the rise and taste unless adjustments are made to the leavening.
Can I make this ahead of time?
Yes. You can bake the cakes a day ahead and wrap them in plastic once cooled. Store at room temperature. Frost the next day.
Can I freeze it?
Absolutely. Wrap the unfrosted cake layers tightly in plastic and foil. Freeze for up to 3 months. Thaw overnight in the fridge before frosting.
What frosting goes best with this cake?
Classic chocolate frosting is the go-to, but you can also use cream cheese frosting, peanut butter frosting, or even whipped ganache.
Nutrition Breakdown (per slice, 1/12 of cake with frosting)
Calories: ~420
Fat: 20g
Carbohydrates: 60g
Sugars: 40g
Protein: 4g
This is a treat meant to be enjoyed—everything in moderation!
How to Store Hershey’s Chocolate Cake
Room Temp: Store in an airtight container for up to 3 days.
Fridge: Lasts up to 5 days, especially if it has cream-based fillings or frosting.
Freezer: Wrap slices individually for a quick dessert on demand.
What Makes This Cake So Special?
The real secret lies in its simplicity and perfect balance of flavor and moisture. Hershey’s didn’t overcomplicate it—they used real cocoa, quality ingredients, and a tried-and-true formula that just works. It’s the chocolate cake people remember from childhood birthdays, school bake sales, and family reunions.
Great Occasions to Serve This Cake
Birthday parties
Anniversaries
Sunday dinners
Potlucks and picnics
Graduation celebrations
Valentine’s Day
Just because it’s Tuesday
You don’t need a special reason to enjoy this chocolate cake—it is the reason.
More Chocolate Desserts to Try
If you love this cake, explore more chocolatey creations:
Chocolate Texas Sheet Cake
Fudgy Brownies from Scratch
No-Bake Chocolate Cream Pie
Chocolate Chip Pound Cake
Mississippi Mud Cake
These recipes carry the same comfort and rich chocolate flavor as Hershey’s cake—perfect for satisfying any chocolate craving.
Final Thoughts
There’s a reason this Hershey’s Chocolate Cake recipe has been around for decades. It’s simple, satisfying, and never fails. Whether you’re new to baking or a seasoned pro, this cake delivers on flavor and nostalgia. It’s a recipe that gets passed down—and once you try it, you’ll understand why.
Ready to bake? Get that cocoa out, preheat your oven, and bring a slice of chocolate joy to your table.