Introduction
Imagine the aroma of a freshly baked pie filling your kitchen, the warmth of the oven embracing you like a hug from a loved one. Today, we delve into the art of creating the best warm homestead pie crust recipe, a comforting delight that transcends generations. This easy homemade pie crust tutorial will guide you through the process of crafting a pie crust that embodies tradition, love, and the essence of home. Join me on this culinary journey as we uncover the secrets behind a pie crust that is both flaky and flavorful.
Why You’ll Love This Recipe
Our organic ingredients pie crust recipe offers a wholesome approach to baking, ensuring that every bite is not only delicious but also nourishing. This gluten-free homestead pie crust guide caters to those with dietary restrictions, making it a versatile option for all. The step-by-step warm pie crust preparation will demystify the process, allowing even novice bakers to achieve phenomenal results. Whether you’re a vegan seeking a vegan friendly homestead pie crust or a traditionalist longing for the taste of a traditional style homestead pie crust, this recipe has something for everyone.
Within these pages, you will uncover the southern warm pie crust secrets that have been passed down through the ages, ensuring that your pie crust is as authentic as it is delicious. Learn the flaky homestead pie crust tips that will elevate your baking game and discover how to make a pie crust that tastes just like grandma used to make. From low-fat warm pie crust recipes to sweet and savory pie crust techniques, this guide covers it all.
Ingredients
Prepare to embark on a culinary adventure with the following ingredients:
– Organic all-purpose flour
– Chilled unsalted butter
– Ice water
– Salt
– Optional: organic cane sugar
– Optional: apple cider vinegar
Feel free to make substitutions based on your preferences and dietary needs.
Are you ready to dive into the heart of this recipe? Let’s begin!
Step-by-Step Instructions
1. In a mixing bowl, combine the organic all-purpose flour and salt.
2. Add the chilled unsalted butter and use a pastry cutter to blend the mixture until it resembles coarse crumbs.
3. Slowly drizzle in the ice water while stirring the mixture until the dough comes together.
4. Divide the dough in half, shape each portion into a disk, wrap in plastic wrap, and refrigerate for at least 30 minutes.
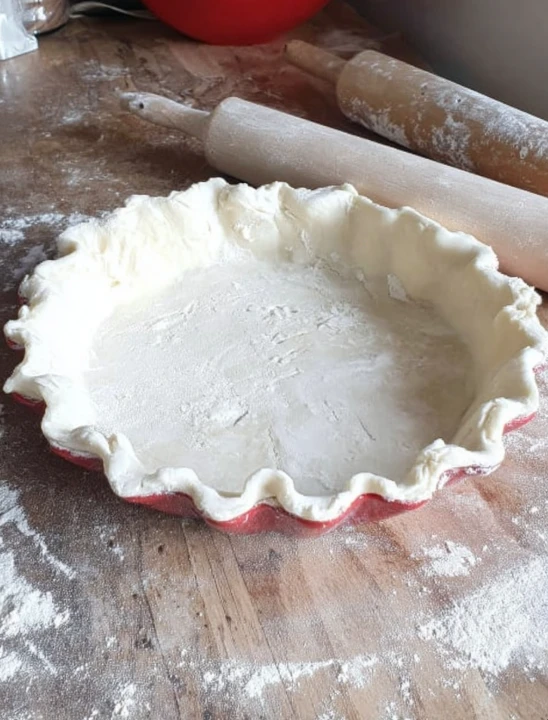
5. Roll out the chilled dough on a floured surface to your desired thickness.
6. Transfer the rolled-out dough to a pie dish, trim any excess, and crimp the edges as desired.
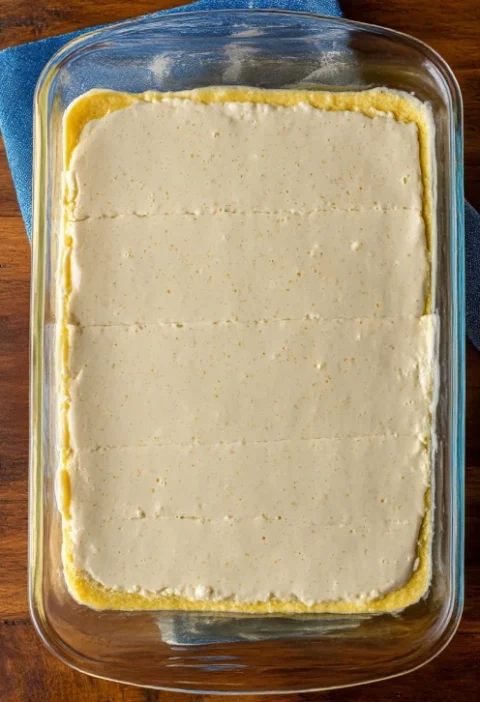
7. Fill the pie crust with your desired filling and bake according to your recipe’s instructions.
Pro Tip: For a flakier crust, refrigerate the assembled pie for 15-30 minutes before baking.
Expert Tips for Success
To achieve the perfect pie crust texture, ensure that your ingredients are cold and handle the dough as little as possible. Overworking the dough can result in a tough crust. Additionally, blind baking the crust before adding the filling can help prevent a soggy bottom.
A common mistake to avoid is using warm ingredients or overmixing the dough, which can lead to a tough and dense crust. Remember, a light hand and patience are key to mastering the art of pie crust making.
Variations and Substitutions
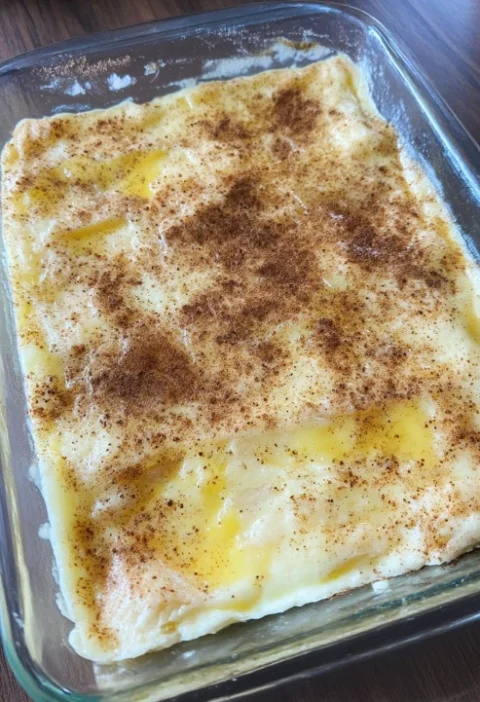
For a healthier alternative, you can experiment with whole wheat flour in place of all-purpose flour. This whole wheat warm pie crust guide offers a nutty flavor and added nutritional benefits. To infuse a bit of warmth and spice into your crust, try incorporating cinnamon or nutmeg into the dough for a spiced homestead pie crust recipe.
If you’re watching your sugar intake, consider using a sugar-free sweetener in place of traditional sugar for a guilt-free indulgence. This opens up a world of sugar-free pie crust recipe ideas for you to explore.
Serving Suggestions
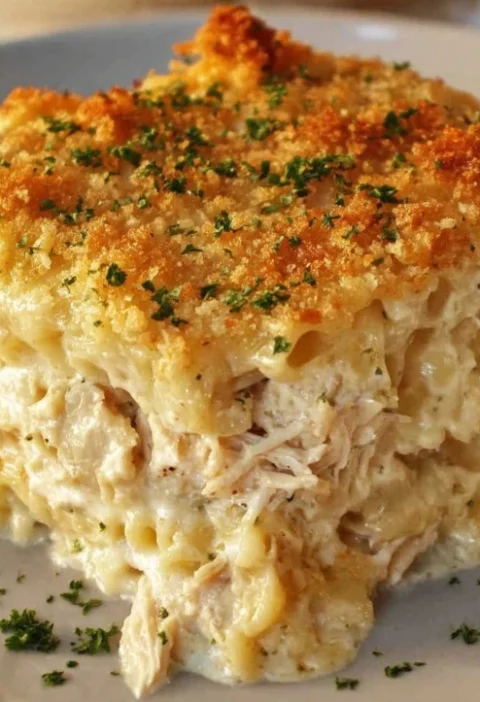
Once your pie is baked to golden perfection, allow it to cool slightly before slicing. Pair slices of warm pie with a dollop of whipped cream or a scoop of vanilla ice cream for a delightful treat. The contrast of temperatures and textures will tantalize your taste buds and elevate your pie experience.
For a complete meal, consider serving your pie alongside a fresh salad or a piping hot cup of tea. The possibilities are endless, so get creative with your pairings to create a memorable dining experience.
FAQs
Q: Can I make this pie crust ahead of time and freeze it?
A: Yes, you can prepare the pie crust dough in advance, wrap it tightly, and freeze it for up to 3 months. Thaw it in the refrigerator before using.
Q: How do I prevent my pie crust from shrinking during baking?
A: To prevent shrinkage, make sure not to stretch the dough when transferring it to the pie dish. Chilling the dough before baking can also help maintain its shape.
Final Thoughts
As you embark on your pie-making journey, remember that practice makes perfect. Don’t be discouraged by any initial setbacks – baking is a labor of love that rewards patience and persistence. Whether you’re recreating a cherished family recipe or venturing into new culinary territory, this best warm homestead pie crust recipe is sure to become a staple in your kitchen.
So, preheat your oven, gather your ingredients, and let the magic of pie baking whisk you away to a place of warmth and comfort. Share your creations with loved ones, savor each bite, and revel in the joy of homemade goodness. Happy baking!
Warm Homestead Pie Crust Recipe
This warm homestead pie crust recipe is a comforting delight that transcends generations. Learn to craft a flaky and flavorful pie crust that embodies tradition and the essence of home with organic ingredients.
Ingredients
- Organic all-purpose flour
- Chilled unsalted butter
- Ice water
- Salt
- Organic cane sugar (optional)
- Apple cider vinegar (optional)
Directions
- In a mixing bowl, combine the organic all-purpose flour and salt.
- Add the chilled unsalted butter and use a pastry cutter to blend the mixture until it resembles coarse crumbs.
- Slowly drizzle in the ice water while stirring the mixture until the dough comes together.
- Divide the dough in half, shape each portion into a disk, wrap in plastic wrap, and refrigerate for at least 30 minutes.
- Roll out the chilled dough on a floured surface to your desired thickness.
- Transfer the rolled-out dough to a pie dish, trim any excess, and crimp the edges as desired.
- Fill the pie crust with your desired filling and bake according to your recipe's instructions.
- For a flakier crust, refrigerate the assembled pie for 15-30 minutes before baking.
Nutrition Facts