Introduction
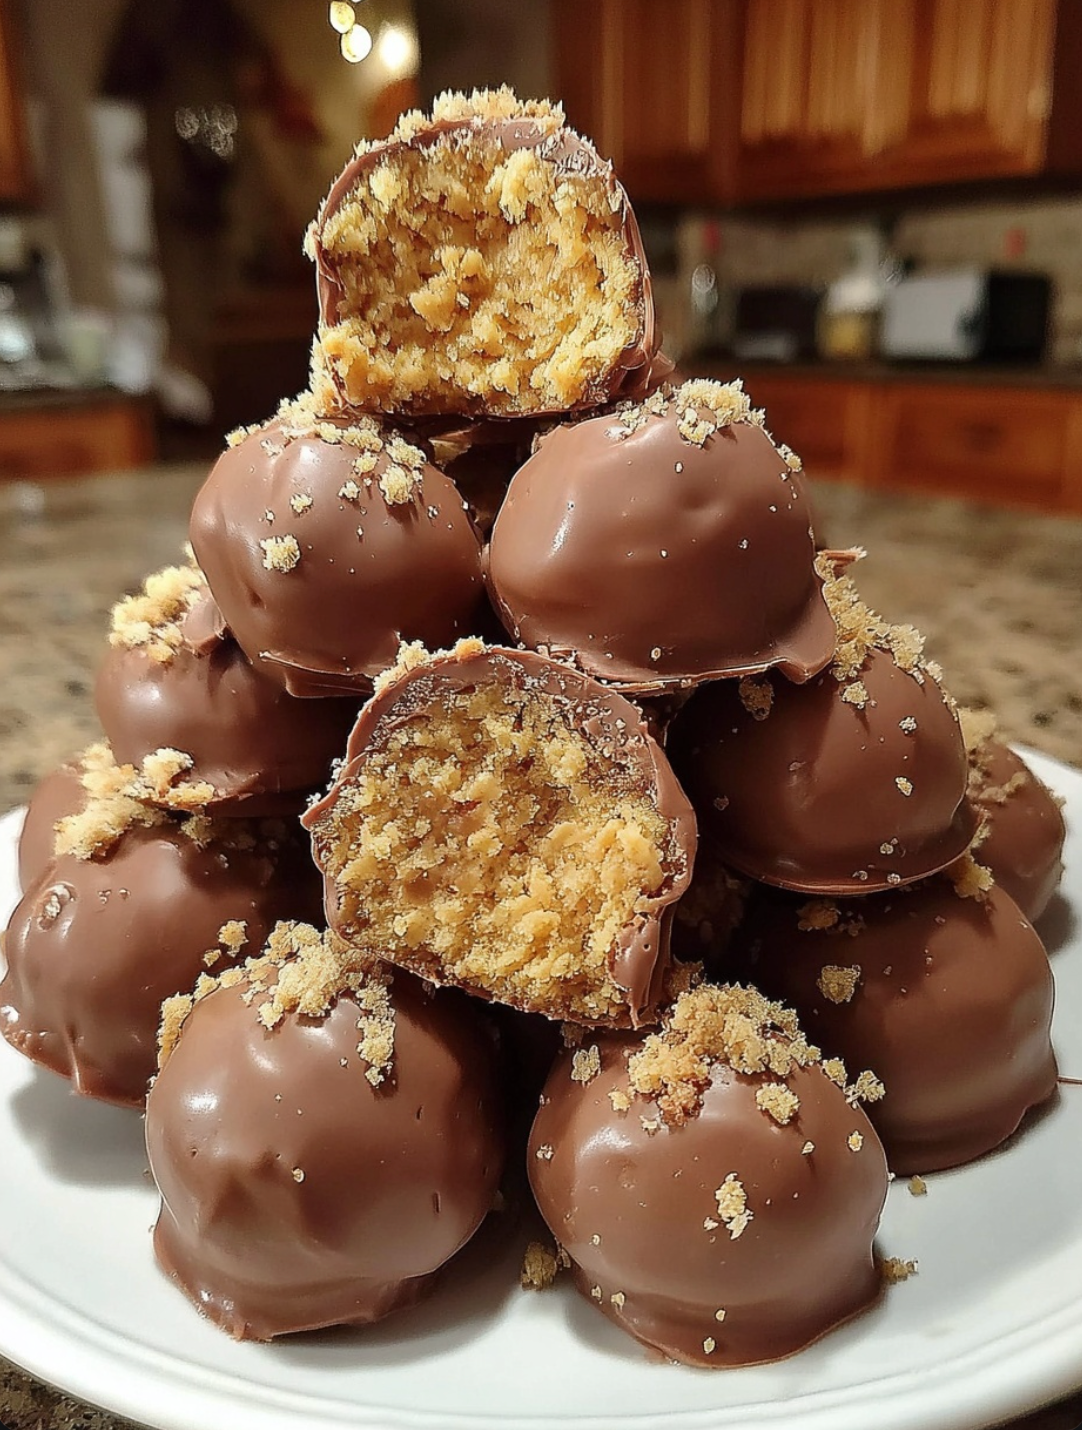
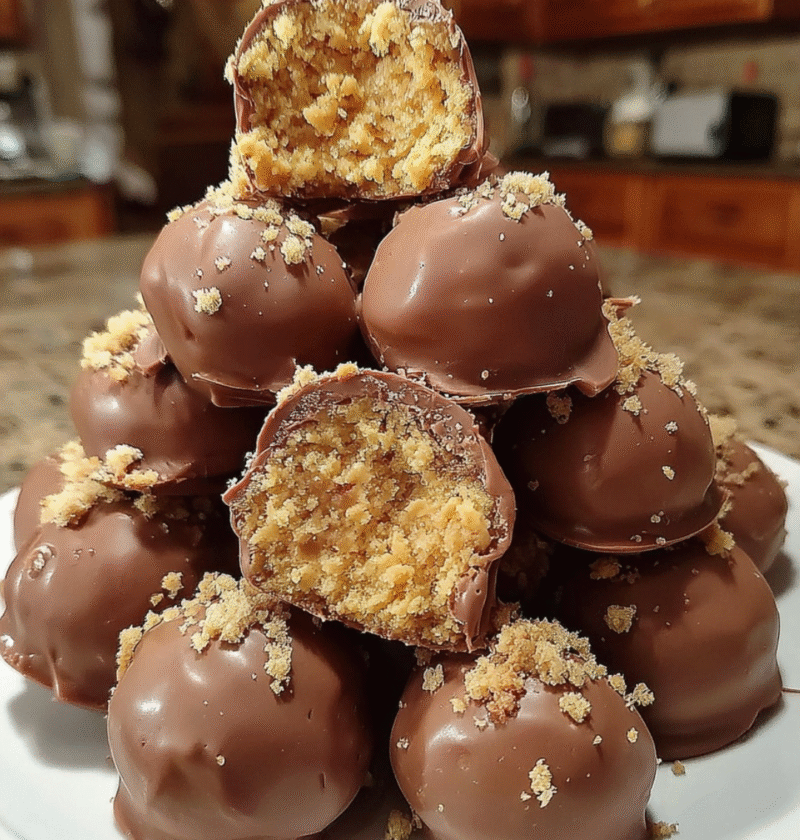
Imagine biting into a crispy, chocolate-coated treat that melts in your mouth, revealing a deliciously crunchy surprise inside. Butterfinger balls are the perfect combination of sweet, salty, and crunchy, making them a favorite dessert for many. Whether you are a seasoned baker or a beginner in the kitchen, this recipe is sure to delight your taste buds and impress your friends and family.
Butterfinger balls are not just any ordinary dessert; they hold a special place in the hearts of those who have tried them. With a rich history dating back to their creation, these delectable treats have become a staple at gatherings, celebrations, and bake sales. The unique blend of flavors and textures sets them apart from other desserts, making them a standout choice for any occasion.
What makes this recipe truly special is its versatility and simplicity. With just a few basic ingredients, you can create a batch of Butterfinger balls that will have everyone asking for more. Whether you are craving a sweet indulgence or need a crowd-pleasing dessert to share, these treats are sure to satisfy your cravings and leave you wanting another bite.
Join me on a culinary journey as we explore the world of Butterfinger balls, from their humble beginnings to the decadent treat we know and love today. Get ready to unleash your inner chef and create a dessert that will become a new favorite in your recipe collection.
Why You’ll Love This Recipe
Prepare to be amazed by the simplicity and deliciousness of this Butterfinger balls recipe. Here are some reasons why you’ll fall in love with it:
First and foremost, these Butterfinger balls are incredibly easy to make, requiring minimal ingredients and effort. You don’t need to be a master baker to whip up a batch of these delightful treats.
The combination of sweet chocolate, creamy peanut butter, and crispy cereal creates a flavor explosion in every bite. The contrasting textures make each mouthful a delightful experience that will keep you coming back for more.
Additionally, these Butterfinger balls can be customized to suit your preferences. Whether you want to add a sprinkle of sea salt for a gourmet touch or drizzle them with caramel for an extra indulgent treat, the possibilities are endless.
Lastly, this recipe is perfect for various dietary needs as it can easily be adapted to be gluten-free, dairy-free, or vegan. Everyone can enjoy these Butterfinger balls without compromising on taste or texture.
Ingredients
Before you embark on your culinary adventure to make Butterfinger balls, gather the following ingredients:
• 2 cups of crispy rice cereal
• 1 cup of creamy peanut butter
• 1/2 cup of powdered sugar
• 1 cup of semi-sweet chocolate chips
• 1 tablespoon of vegetable shortening
• Optional: crushed Butterfinger candy bars for coating
Feel free to substitute any ingredients based on your dietary preferences or pantry staples. You can use almond butter in place of peanut butter or dark chocolate for a richer flavor. Get creative and make this recipe your own!
Now that you have all the ingredients ready, let’s dive into the step-by-step instructions to create these irresistible Butterfinger balls.
Step-by-Step Instructions
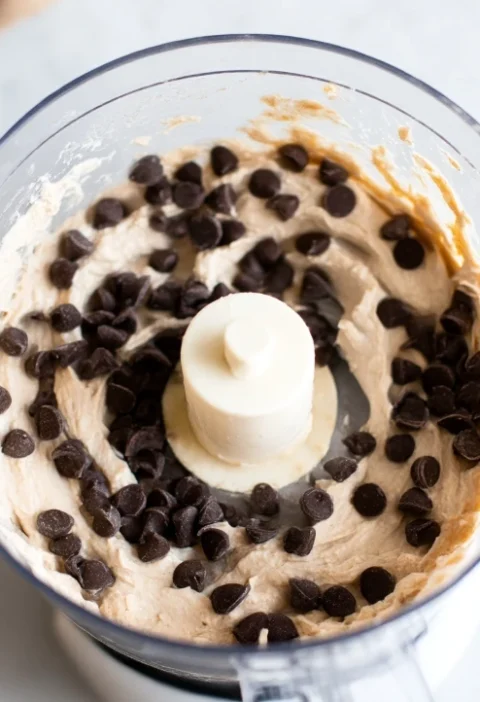
1. In a large mixing bowl, combine the crispy rice cereal, creamy peanut butter, and powdered sugar. Stir until well combined and the mixture holds together.
2. Using your hands, roll the mixture into small balls, about 1 inch in diameter. Place the balls on a baking sheet lined with parchment paper and chill them in the refrigerator for 30 minutes to set.
3. In a microwave-safe bowl, melt the chocolate chips and vegetable shortening in 30-second intervals, stirring until smooth. Be careful not to overheat the chocolate.
4. Dip each chilled peanut butter ball into the melted chocolate, ensuring it is fully coated. Place the coated ball back on the parchment-lined baking sheet.
5. Optional: While the chocolate is still wet, roll the coated ball in crushed Butterfinger candy bars for an extra crunchy coating.
6. Once all the balls are coated, return the baking sheet to the refrigerator to allow the chocolate to set completely. This will take about 1 hour.
7. Serve the Butterfinger balls chilled and enjoy the irresistible combination of flavors and textures in every bite.
Expert Tips for Success
• For a smoother texture, you can pulse the crispy rice cereal in a food processor before mixing it with the peanut butter and sugar.
• To prevent the chocolate from seizing, make sure the peanut butter balls are well chilled before dipping them in the melted chocolate.
• Experiment with different coatings such as crushed nuts, sprinkles, or shredded coconut to add variety to your Butterfinger balls.
• Store any leftover Butterfinger balls in an airtight container in the refrigerator for up to one week. They also freeze well for longer storage.
Variations and Substitutions
While the classic Butterfinger balls recipe is a fan favorite, there are endless ways to customize this treat to suit your taste preferences. Here are some creative variations and substitutions you can try:
• Swap the crispy rice cereal for crushed pretzels or graham crackers for a salty twist on the original recipe.
• Use almond or cashew butter instead of peanut butter for a different flavor profile. You can also mix different nut butters for a unique blend of tastes.
• Add a dash of cinnamon or nutmeg to the peanut butter mixture for a warm, spicy kick that complements the sweetness of the chocolate coating.
• Experiment with different coatings such as white chocolate, dark chocolate, or colored candy melts to create visually stunning Butterfinger balls for special occasions.
Serving Suggestions
These Butterfinger balls are best enjoyed chilled straight from the refrigerator. They make a delightful dessert for parties, potlucks, or a sweet treat after dinner. Pair them with a glass of cold milk or hot coffee for a satisfying snack.
For a more decadent serving option, top the Butterfinger balls with a scoop of vanilla ice cream and drizzle with caramel sauce for an indulgent dessert experience. The combination of cold, creamy ice cream and crunchy Butterfinger balls is sure to please your taste buds.
FAQs
Q: Can I use crunchy peanut butter instead of creamy?
A: Yes, you can use crunchy peanut butter for added texture and nuttiness in your Butterfinger balls. However, keep in mind that the balls may be slightly harder to roll due to the nut pieces.
Q: How long do Butterfinger balls last?
A: Properly stored in an airtight container in the refrigerator, Butterfinger balls can last up to one week. You can also freeze them for longer storage, ensuring they are well wrapped to prevent freezer burn.
Q: Can I make these Butterfinger balls ahead of time?
A: Yes, you can prepare the Butterfinger balls in advance and store them in the refrigerator until ready to serve. This makes them a convenient make-ahead dessert for busy days or special occasions.
Final Thoughts
Congratulations on mastering the art of creating irresistible Butterfinger balls! This simple yet delicious recipe is sure to become a staple in your dessert repertoire, delighting your taste buds and impressing your guests. Whether you enjoy them as a sweet indulgence or a party treat, these Butterfinger balls are bound to bring joy to all who taste them.
So, gather your ingredients, follow the step-by-step instructions, and get ready to experience the magic of Butterfinger balls in every crunchy, chocolatey bite. Don’t forget to share this recipe with your friends and family so they too can enjoy the delectable goodness of homemade Butterfinger balls. Happy baking!
Butterfinger balls
Butterfinger balls are a delightful combination of sweet chocolate, creamy peanut butter, and crispy cereal, coated in a rich, crunchy shell. These irresistible treats are easy to make and customizable to suit various dietary needs, making them a favorite dessert for any occasion.
Ingredients
- 2 cups crispy rice cereal
- 1 cup creamy peanut butter
- 1/2 cup powdered sugar
- 1 cup semi-sweet chocolate chips
- 1 tablespoon vegetable shortening
- Optional: crushed Butterfinger candy bars for coating
Directions
- In a large mixing bowl, combine the crispy rice cereal, creamy peanut butter, and powdered sugar. Stir until well combined and the mixture holds together.
- Using your hands, roll the mixture into small balls, about 1 inch in diameter. Place the balls on a baking sheet lined with parchment paper and chill them in the refrigerator for 30 minutes to set.
- In a microwave-safe bowl, melt the chocolate chips and vegetable shortening in 30-second intervals, stirring until smooth. Be careful not to overheat the chocolate.
- Dip each chilled peanut butter ball into the melted chocolate, ensuring it is fully coated. Place the coated ball back on the parchment-lined baking sheet.
- Optional: While the chocolate is still wet, roll the coated ball in crushed Butterfinger candy bars for an extra crunchy coating.
- Once all the balls are coated, return the baking sheet to the refrigerator to allow the chocolate to set completely. This will take about 1 hour.
- Serve the Butterfinger balls chilled and enjoy the irresistible combination of flavors and textures in every bite.
Nutrition Facts