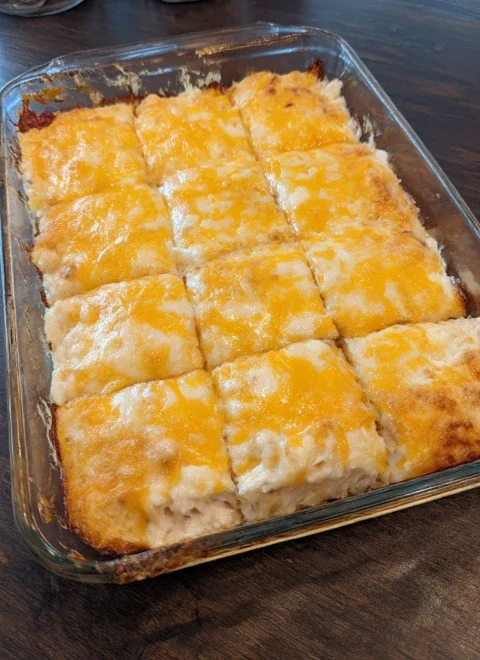
Cherry Pie Bars are a delightful twist on the classic cherry pie, offering all the flavors you love in an easy-to-make, portable form. These bars feature a buttery, soft crust, a sweet and tangy cherry filling, and a tender, cakey topping. They’re perfect for potlucks, parties, or whenever you’re craving a slice of cherry pie without the hassle of rolling out dough. With a touch of almond extract for extra flavor and a dusting of powdered sugar, these bars are sure to become a family favorite.
Ingredients for Cherry Pie Bars
Scale for 1X, 2X, 3X Batches
- 1 cup butter, softened: Provides richness and flavor to the crust and topping.
- 2 cups sugar: Sweetens the batter and balances the tartness of the cherry filling.
- 4 eggs: Adds structure and moisture to the bars.
- 1 teaspoon vanilla extract: Enhances the overall flavor of the bars.
- 1/4 teaspoon almond extract: Adds a subtle nutty flavor that pairs perfectly with cherries.
- 3 cups all-purpose flour: Provides structure to the crust and topping.
- 1 teaspoon salt: Balances the sweetness and enhances the flavors.
- 1 (21 oz) can cherry pie filling: The star of the show, adding sweet and tangy cherry goodness to the bars.
- Powdered sugar for dusting (optional): Adds a decorative and sweet finishing touch.
Instructions: How to Make Cherry Pie Bars
Step 1: Preheat the Oven
- Preheat your oven to 350°F (175°C). Grease a 9×13-inch baking dish or line it with parchment paper for easy removal.
Step 2: Prepare the Batter
- In a large mixing bowl, cream together the softened butter and sugar until light and fluffy, about 3-4 minutes.
- Add the eggs one at a time, beating well after each addition. Stir in the vanilla and almond extracts until combined.
Step 3: Add the Dry Ingredients
- In a separate bowl, whisk together the flour and salt. Gradually add the dry ingredients to the wet mixture, mixing just until combined. Be careful not to overmix, as this can make the bars tough.
Step 4: Assemble the Bars
- Spread about 2/3 of the batter into the prepared baking dish, smoothing it out to cover the bottom evenly.
- Spoon the cherry pie filling over the batter, spreading it evenly to cover the entire surface.
- Drop the remaining batter by spoonfuls over the cherry filling. It doesn’t have to cover completely; gaps will allow the cherries to peek through as the bars bake.
Step 5: Bake
- Bake in the preheated oven for 30-35 minutes, or until the top is lightly golden and a toothpick inserted into the center comes out clean or with a few moist crumbs.
Step 6: Cool and Serve
- Allow the bars to cool completely in the baking dish. Once cooled, dust with powdered sugar if desired, then cut into squares or bars for serving.
🍽 Cook’s Notes & Tips
- Butter Softness: Make sure your butter is properly softened to ensure a smooth, creamy batter. If the butter is too cold, the batter won’t mix well.
- Cherry Pie Filling: You can use any flavor of pie filling you like—blueberry, apple, or raspberry would all be delicious alternatives.
- Almond Extract: The almond extract adds a wonderful depth of flavor, but if you’re not a fan, you can omit it or replace it with more vanilla extract.
- Serving Suggestions: These bars are delicious on their own but are even better when served with a scoop of vanilla ice cream or a dollop of whipped cream.
Variations of Cherry Pie Bars
Here are a few ways you can change up this recipe:
- Lemon Cherry Bars: Add the zest of one lemon to the batter for a bright, citrusy flavor that complements the cherries.
- Glazed Cherry Bars: Instead of dusting with powdered sugar, drizzle the cooled bars with a simple glaze made from powdered sugar and milk or lemon juice.
- Cream Cheese Cherry Bars: Swirl softened cream cheese into the batter before adding the cherry filling for a creamy, tangy twist.
- Nutty Cherry Bars: Sprinkle chopped almonds or pecans over the cherry filling before adding the top layer of batter for added crunch and flavor.
Frequently Asked Questions (FAQs)
1. Can I use homemade cherry pie filling?
Yes, you can definitely use homemade cherry pie filling if you prefer. Just make sure it’s thick and not too runny, so it doesn’t make the bars soggy.
2. How do I store Cherry Pie Bars?
Store the bars in an airtight container at room temperature for up to 3 days, or in the refrigerator for up to a week. They can also be frozen for up to 3 months—just thaw them at room temperature before serving.
3. Can I make these bars gluten-free?
Yes, you can substitute the all-purpose flour with a gluten-free flour blend. Make sure the blend contains xanthan gum or a similar binding agent to ensure the bars hold together.
4. How do I prevent the bars from sticking to the pan?
Lining the baking dish with parchment paper is the best way to prevent sticking. You can also grease the pan with butter or non-stick cooking spray.
5. Can I use a different type of fruit filling?
Absolutely! This recipe works well with any canned or homemade pie filling, such as blueberry, apple, or peach.
6. How can I make the bars more cake-like?
If you prefer a more cake-like texture, you can add an extra egg to the batter. This will make the bars lighter and fluffier.
7. Can I double the recipe?
Yes, you can double the recipe and bake it in a larger pan or in two 9×13-inch pans. Just make sure to adjust the baking time accordingly and check for doneness.
A Sweet and Easy Dessert
Cherry Pie Bars are a simple yet satisfying dessert that’s perfect for any occasion. With a buttery crust, sweet cherry filling, and a tender, cakey topping, these bars are a crowd-pleaser that’s easy to make and even easier to enjoy. Whether you’re making them for a party, a holiday gathering, or just to satisfy a sweet craving, this recipe is sure to become a favorite in your dessert repertoire.


