Grandmother’s Pie Crust Recipe
Introduction
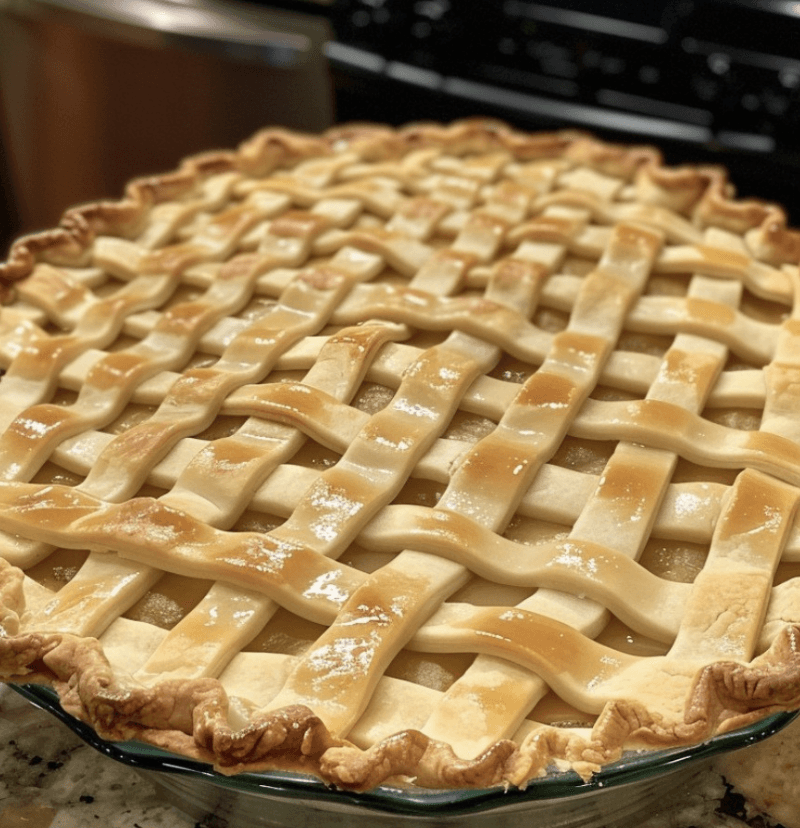
There’s something truly special about a homemade pie crust. The buttery aroma that fills the kitchen, the delicate flakiness that melts in your mouth – it’s a true labor of love. Today, I want to share with you my grandmother’s cherished pie crust recipe. Passed down through generations, this recipe holds countless memories of family gatherings and holiday celebrations. So, let’s dive in and create a pie crust that will leave your loved ones begging for seconds.
The Story Behind the Recipe
My grandmother was an incredible baker, and her pie crusts were legendary. I remember the first time I watched her effortlessly combine the simplest of ingredients to create a masterpiece. As she rolled out the dough, she shared stories of how this recipe had been in our family for generations. The love and tradition poured into each pie she made was evident with every bite. Now, I’m honored to continue this tradition and share her recipe with you.
Instructions
To make my grandmother’s pie crust, you’ll need:
– 2 ½ cups all-purpose flour
– 1 teaspoon salt
– 1 cup cold unsalted butter, cut into small cubes
– 6-8 tablespoons ice water
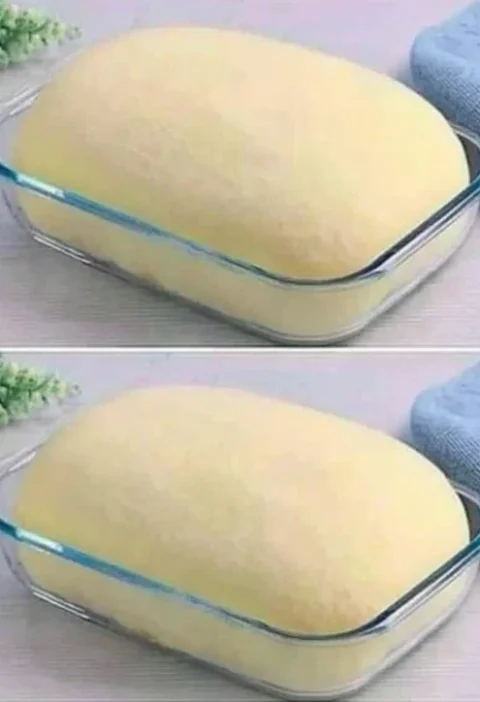
Start by combining the flour and salt in a large mixing bowl. Using a pastry cutter or your fingertips, cut the cold butter into the flour mixture until it resembles coarse crumbs. The key here is to work quickly, as you want the butter to remain cold and solid.
Next, add the ice water, one tablespoon at a time, and mix gently with a fork until the dough starts to come together. Be careful not to overmix; you want the dough to be just moist enough to hold together when pressed between your fingers.
Once the dough has come together, divide it in half and shape each half into a flat disk. Wrap each disk tightly in plastic wrap and refrigerate for at least 1 hour, or up to overnight. Chilling the dough allows the gluten to relax and ensures a tender, flaky crust.
When you’re ready to use the dough, remove it from the refrigerator and let it sit at room temperature for about 10 minutes to soften slightly. Lightly flour your work surface and roll out the dough into a circle, about 1/8 inch thick.
Transfer the rolled-out dough to a 9-inch pie dish, gently pressing it into the bottom and sides. Trim any excess dough, leaving a 1-inch overhang. Fold the overhang under and crimp the edges using your fingers or a fork to create a decorative border.
If your recipe calls for a pre-baked crust, prick the bottom of the dough with a fork to prevent it from puffing up during baking. Cover the crust with parchment paper or aluminum foil and fill it with pie weights or dried beans. Bake in a preheated oven at 375°F for about 15 minutes, or until the edges are lightly golden.
For a regular pie recipe, simply fill the unbaked crust with your desired filling and bake according to your recipe’s instructions. Enjoy the heavenly aroma that will fill your home as the pie bakes to perfection.
Remember, practice makes perfect when it comes to pie crusts. Don’t be discouraged if your first attempt isn’t flawless. With time and experience, you’ll master the art of creating the perfect crust that would make my grandmother proud.
Variations
While my grandmother’s original pie crust recipe is a timeless classic, you can put your own twist on it with these variations:
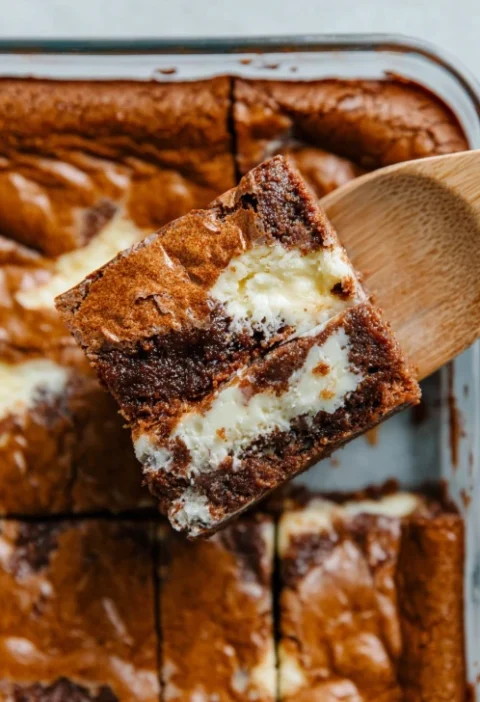
1. Chocolate Pie Crust: Add 1/4 cup cocoa powder to the flour mixture for a rich, chocolatey crust that pairs perfectly with your favorite chocolate fillings.
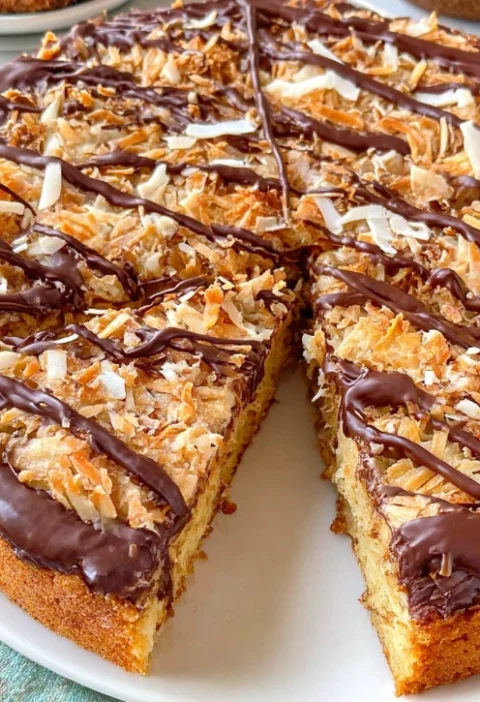
2. Almond Pie Crust: Substitute 1/2 cup of the all-purpose flour with finely ground almonds to add a subtle nutty flavor to your crust. This variation works exceptionally well with fruit pies.
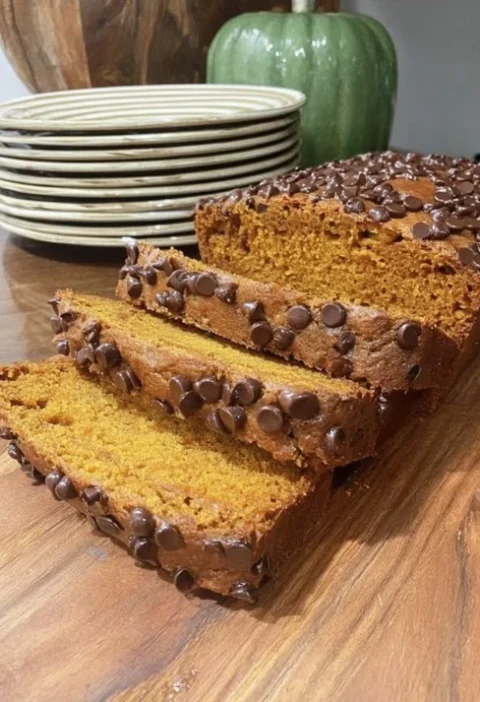
3. Spiced Pie Crust: Incorporate 1 teaspoon of your favorite spices, such as cinnamon, nutmeg, or ginger, into the flour mixture for a warm and aromatic crust.
Feel free to experiment and get creative with different flavors that complement your pie fillings. The possibilities are endless!
FAQ
Q: Can I use salted butter instead of unsalted butter?
A: While you can use salted butter, it’s best to stick with unsalted butter. This gives you more control over the salt content in your crust, allowing you to adjust it based on the filling’s flavors.
Q: Can I freeze the dough?
A: Absolutely! You can freeze the wrapped dough for up to 3 months. When you’re ready to use it, simply thaw it overnight in the refrigerator before rolling it out.
Q: Can I use whole wheat flour instead of all-purpose flour?
A: Whole wheat flour will result in a denser and slightly nuttier crust. If you prefer a lighter texture, it’s best to stick with all-purpose flour or a combination of all-purpose and whole wheat.
Conclusion
Grandma’s pie crust recipe is more than just a recipe; it’s a piece of our family’s history. By following these simple steps and adding your own personal touch, you can create a pie crust that will become a cherished tradition in your own home. So, gather your loved ones, roll up your sleeves, and let the magic of homemade pie crusts bring warmth and joy to your kitchen.