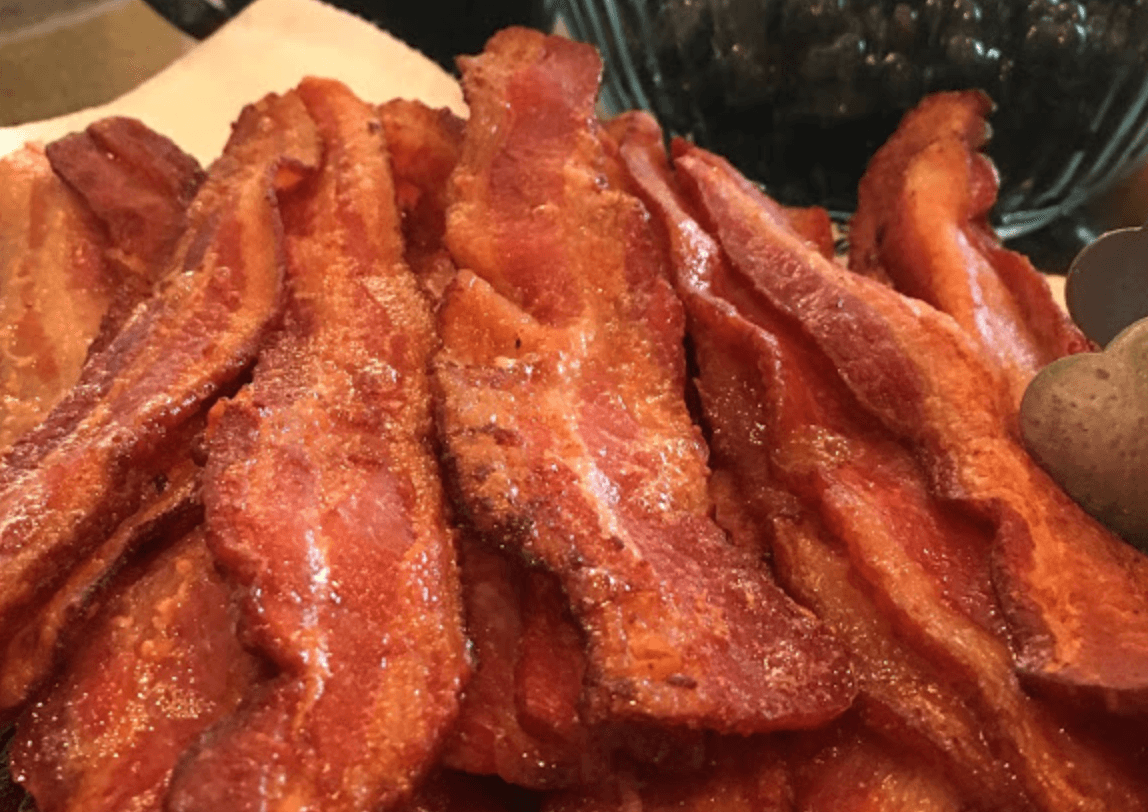
Bacon is a breakfast staple that many people love, but cooking it on the stovetop can sometimes be messy and time-consuming. If you’re looking for a method that produces perfectly crispy bacon with minimal fuss, oven-frying is the way to go. This technique not only results in evenly cooked bacon but also allows you to cook large batches at once. Say goodbye to splatters and unevenly cooked strips—with this method, every slice of bacon turns out perfectly crisp and delicious.
Why Oven-Fried Bacon?
Cooking bacon in the oven has several advantages over the traditional stovetop method:
- Even Cooking: The oven’s consistent heat ensures that each strip of bacon cooks evenly without the need to flip it.
- Less Mess: Oven-frying significantly reduces the mess. The bacon grease stays contained on the baking sheet, and there are no greasy splatters to clean up on your stovetop.
- Hands-Free: This method frees up your time, allowing you to focus on other breakfast items or simply relax while the bacon cooks.
- Batch Cooking: Whether you’re cooking for a crowd or meal prepping for the week, the oven allows you to cook large batches of bacon all at once.
Ingredients and Tools Needed
- Ingredients:
- Bacon (as much as you need; thick-cut or regular slices both work well)
- Tools:
- Baking sheet
- Aluminum foil or parchment paper
- Cooling rack (optional, for extra-crispy bacon)
- Tongs or a fork for handling the hot bacon
Step-by-Step Instructions
1. Preheat Your Oven:
- Start by preheating your oven to 400°F (200°C). This temperature is ideal for rendering the fat and achieving crispy bacon without burning it.
2. Prepare Your Baking Sheet:
- Line a baking sheet with aluminum foil or parchment paper. This makes for easier cleanup as the foil or paper catches the grease. If you prefer extra-crispy bacon, place a wire cooling rack on top of the lined baking sheet. This allows the bacon to cook from all sides as the grease drips down onto the foil.
3. Arrange the Bacon:
- Lay the bacon strips out in a single layer on the prepared baking sheet or rack. Make sure the strips are not overlapping, as this can cause them to stick together and cook unevenly.
4. Bake the Bacon:
- Place the baking sheet on the middle rack of the preheated oven.
- Cooking Time:
- Regular-cut bacon: Bake for 12-15 minutes.
- Thick-cut bacon: Bake for 15-20 minutes.
- Keep an eye on the bacon as it nears the end of the cooking time. The exact time can vary depending on the thickness of the bacon and how crispy you like it.
5. Check for Doneness:
- Your bacon is done when it’s golden-brown and crispy. If you prefer chewier bacon, you can remove it from the oven a minute or two earlier.
- Remember, bacon will continue to crisp up slightly as it cools, so err on the side of caution to avoid overcooking.
6. Remove and Drain:
- Using tongs or a fork, carefully transfer the cooked bacon to a plate lined with paper towels. The towels will absorb any excess grease, ensuring your bacon isn’t too greasy.
7. Serve and Enjoy:
- Once drained, your bacon is ready to serve. Enjoy it hot with your favorite breakfast dishes, or use it as a topping for salads, sandwiches, and more.
Tips for the Perfect Oven-Fried Bacon
- No Rack? No Problem: If you don’t have a wire rack, you can still get great results by cooking the bacon directly on the foil-lined baking sheet. The bacon will cook in its own fat, which some people prefer for extra flavor.
- Adjust the Temperature: If your bacon starts to smoke or cook too quickly, reduce the oven temperature to 375°F (190°C). This gives you a bit more control and reduces the risk of burning.
- Batch Cooking: If you’re cooking multiple batches, be sure to drain the grease from the baking sheet between batches to prevent it from smoking. You can save the bacon grease for other recipes—it’s perfect for cooking eggs, sautéing vegetables, or making gravy.
- Flavor Variations: For a fun twist, sprinkle the bacon with a little brown sugar, black pepper, or even cayenne pepper before baking. This adds a sweet, spicy, or savory kick to your bacon, depending on what you like.
- Storage: If you have leftover bacon (which rarely happens!), store it in an airtight container in the refrigerator for up to 5 days. To reheat, simply pop it back in the oven for a few minutes, or use the microwave for a quick fix.
Why This Method Works
The oven method works so well because it uses consistent, even heat to cook the bacon. Unlike frying in a pan where the bacon can curl up or cook unevenly, the oven ensures that each piece remains flat and gets the same amount of heat. This is especially helpful when cooking thick-cut bacon, which can be tricky to get right on the stovetop.
Plus, cooking in the oven reduces the risk of bacon grease splatters, making it a safer option. And because the grease drains away from the bacon (especially when using a rack), you get a crispier, less greasy end product.
Serving Suggestions
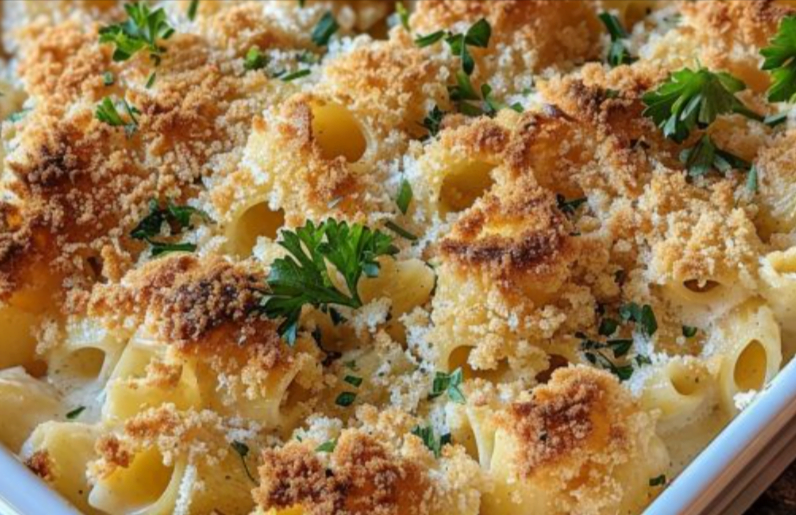
Oven-fried bacon is incredibly versatile. Serve it alongside eggs and toast for a classic breakfast, crumble it over a fresh salad for added crunch, or use it to top burgers and sandwiches. You can also chop it up and mix it into dishes like macaroni and cheese, baked potatoes, or even chocolate chip cookies for a sweet and savory treat.
For a fun and indulgent treat, try making candied bacon by brushing the strips with maple syrup or sprinkling them with brown sugar before baking. The result is a sweet, caramelized coating that pairs wonderfully with the salty bacon.
Oven-fried bacon is a game-changer for anyone who loves perfectly cooked bacon with minimal effort. It’s quick, easy, and produces consistently great results every time. Whether you’re cooking for a crowd or just want to enjoy a few slices on your own, this method is sure to become your go-to for bacon perfection. So next time you’re craving this beloved breakfast treat, skip the stovetop and turn to your oven for the best bacon ever.
