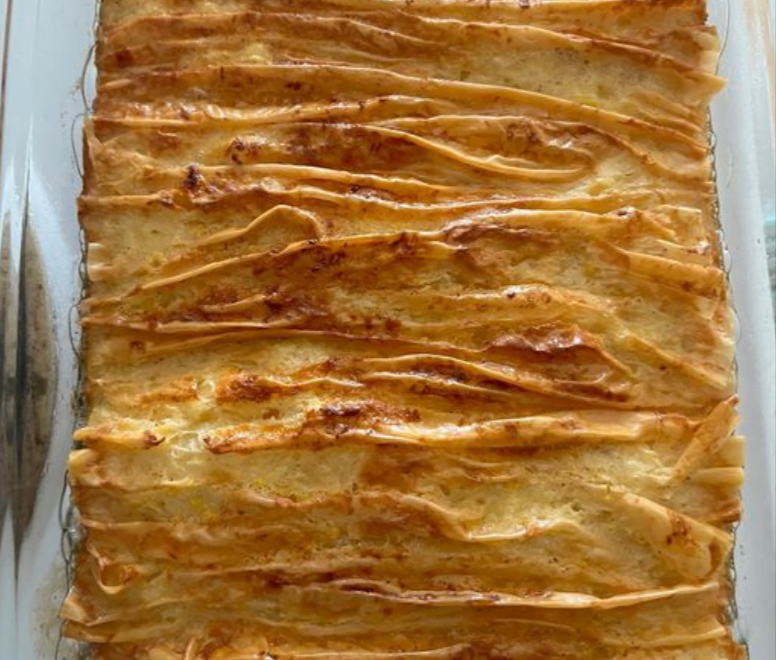
Homemade Apple Pie: A Classic Dessert That Warms the Soul
Few desserts evoke the feeling of home quite like a warm slice of homemade apple pie. With its flaky crust, tender apples, and comforting spices, apple pie is a timeless treat that’s perfect for any occasion. Whether you’re baking for a special gathering or simply craving a taste of nostalgia, this recipe will guide you through creating the perfect apple pie from scratch. Get ready to fill your kitchen with the irresistible aroma of cinnamon and apples as you embark on this delicious baking journey.
Ingredients:
For the Pie Crust:
- 2 eggs
- 100 g sugar
- 10 g vanilla sugar
- 60 g melted butter
- 40 ml butter (for greasing)
- 5 g baking powder
- 360 g flour
For the Filling:
- 1 egg (for brushing)
- 60 g sugar
- 50 g starch
- Zest of half a lemon
- 360 ml milk
- 20 g butter
- 1 tablespoon lemon juice
For Garnish:
- 4 apples, finely chopped
- Lemon juice
- Sugar
- 1 tablespoon jam or honey
Instructions:
For the Pie Crust:
- Prepare the Dough: In a mixing bowl, whisk together the eggs, sugar, and vanilla sugar until well combined. Gradually add the melted butter and continue whisking.
- Add Dry Ingredients: Sift in the flour and baking powder, then mix until a smooth dough forms. If the dough is too sticky, add a little more flour until it reaches a workable consistency.
- Chill the Dough: Wrap the dough in plastic wrap and refrigerate for at least 30 minutes to allow it to firm up.
- Roll Out the Dough: Preheat your oven to 350°F (175°C). On a floured surface, roll out the chilled dough to fit the size of your pie dish. Carefully transfer the dough to the greased pie dish, pressing it gently into the bottom and sides.
For the Filling:
- Prepare the Apples: In a bowl, toss the finely chopped apples with lemon juice and sugar to prevent browning.
- Make the Custard: In a saucepan, combine the sugar, starch, lemon zest, milk, butter, and lemon juice. Cook over medium heat, stirring constantly, until the mixture thickens and coats the back of a spoon.
- Assemble the Pie: Arrange the prepared apples in the pie crust, then pour the custard mixture over the top, ensuring it covers the apples evenly.
- Add the Top Crust: Roll out the remaining dough and place it over the filling. Trim any excess dough and crimp the edges to seal the pie. Cut a few slits in the top crust to allow steam to escape during baking.
- Brush with Egg Wash: Beat the remaining egg and brush it over the top crust for a golden finish.
- Bake: Place the pie in the preheated oven and bake for 45-50 minutes, or until the crust is golden brown and the filling is bubbling.
- Cool and Serve: Allow the pie to cool slightly before slicing. Serve warm with a dollop of whipped cream or a scoop of vanilla ice cream, if desired.
Cook Notes and Variations:
- Preventing Soggy Bottoms: To prevent a soggy crust, you can blind bake the bottom crust before adding the filling. Simply line the pie crust with parchment paper and fill it with pie weights or dried beans. Bake for 10-15 minutes, then remove the weights and continue baking as directed.
- Enhanced Flavor: Add a sprinkle of cinnamon or nutmeg to the apple filling for extra flavor.
- Crumb Topping: Instead of a traditional top crust, you can make a crumb topping by mixing together flour, sugar, and butter until crumbly, then sprinkling it over the filling before baking.
Keto and Low-Carb Versions:Keto Version: For a keto-friendly apple pie, you can replace the flour in the crust with almond flour or a combination of almond flour and coconut flour. Use a keto-friendly sweetener such as erythritol or stevia in place of sugar in both the crust and filling. You can also reduce the number of apples used or substitute with thinly sliced zucchini or squash for a lower-carb option.
Low-Carb Version: To reduce the carb content, you can use a combination of almond flour and coconut flour for the crust and sweeten the filling with a low-carb sweetener such as monk fruit sweetener or stevia. Use fewer apples or substitute with berries for a lower-carb fruit option. Additionally, you can omit the starch in the filling or use a small amount of arrowroot powder to thicken.
In conclusion, there’s nothing quite like the comforting aroma and taste of a homemade apple pie. With its flaky crust, luscious apple filling, and warm spices, it’s a dessert that never fails to delight. Whether you’re a seasoned baker or new to the kitchen, this recipe will guide you through creating a perfect apple pie that’s sure to impress. So roll up your sleeves, gather your ingredients, and treat yourself to a slice of homemade goodness that’s guaranteed to warm your soul.
Frequently Asked Questions (FAQs):
Q: Can I use a store-bought pie crust instead of making my own? A: Yes, you can use a pre-made pie crust if you’re short on time. Simply follow the instructions for the filling and baking, using the store-bought crust as directed.
Q: Can I use a different type of fruit for the filling? A: Absolutely! While apples are traditional, you can use a variety of fruits such as peaches, berries, or pears for the filling. Just be sure to adjust the sugar and seasoning accordingly based on the sweetness of the fruit.
Q: How should I store leftover apple pie? A: Store any leftover pie in the refrigerator, covered with plastic wrap or aluminum foil, for up to 3-4 days. Reheat individual slices in the microwave or oven before serving.
Q: Can I freeze apple pie? A: Yes, you can freeze apple pie either before or after baking. If freezing before baking, assemble the pie as directed but do not bake. Wrap the pie tightly in plastic wrap and aluminum foil, then freeze for up to 3 months. When ready to bake, thaw the pie overnight in the refrigerator, then bake as directed. If freezing after baking, allow the pie to cool completely, then wrap and freeze as directed. Reheat in the oven from frozen until warmed through.
Q: Can I make this pie vegan? A: Yes, you can make a vegan version of this pie by using a vegan pie crust recipe and substituting dairy-free milk and butter in the filling. You can also use a vegan egg substitute or omit the egg wash on top.


