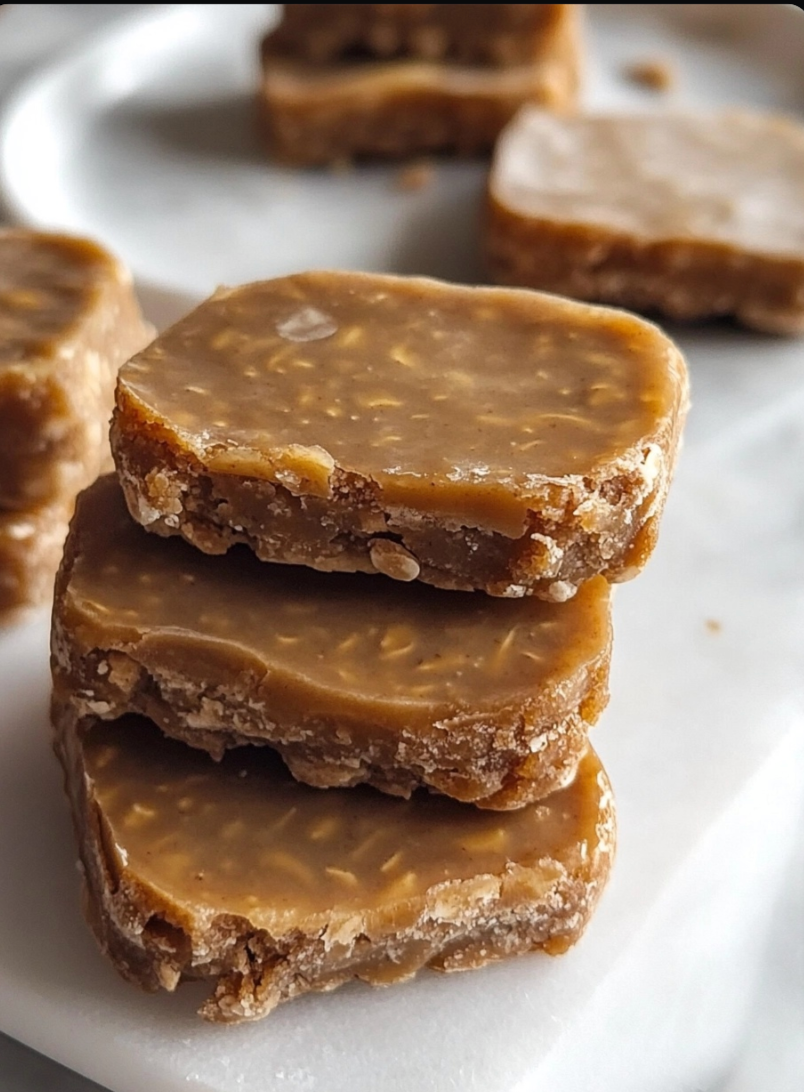
This banana pie is a hit every time I make it. The combination of ripe bananas, a crumbly crust, and a creamy filling is simply irresistible. Here’s a step-by-step guide to help you recreate this delicious pie at home.
Ingredients:
For the Crust and Crumble:
- 3 cups of wheat flour
- 1 cup of refined sugar
- 1.5 teaspoons of baking powder
- 1 teaspoon of vanilla essence
- 1 pinch of salt
- 3/4 cup of unsalted butter (cold)
- 1 whole egg
For the Filling:
- 10 ripe bananas
- Juice of 2 limes
- 5 whole eggs
- 1 teaspoon of vanilla essence
- 1.5 cans of condensed milk
- 2 cups of milk
Instructions:
Step 1: Prepare the Bananas
- Peel and Slice:
- Start by peeling 10 ripe bananas.
- Cut them into round slices and set them aside in a large bowl.
- Pour the juice of 2 limes over the banana slices to prevent browning and to add a tangy flavor.
Step 2: Make the Crust and Crumble 2. Combine Dry Ingredients:
- In a large bowl, add 3 cups of wheat flour, 1 cup of refined sugar, 1.5 teaspoons of baking powder, and a pinch of salt.
- Mix these dry ingredients until well combined.
- Add Wet Ingredients:
- Cut 3/4 cup of cold unsalted butter into small cubes and add it to the flour mixture.
- Use your fingers or a pastry cutter to mix the butter into the flour until the mixture resembles coarse crumbs.
- Add 1 whole egg and 1 teaspoon of vanilla essence to the mixture.
- Mix until everything is well combined and forms a crumbly dough.
Step 3: Prepare the Filling 4. Mix Liquid Ingredients:
- In another large bowl, add 5 whole eggs.
- Add 1 teaspoon of vanilla essence.
- Add 1.5 cans of condensed milk and 2 cups of milk.
- Whisk everything together until well combined.
Step 4: Assemble the Pie 5. Layer the Crust:
- Preheat your oven to 350 degrees Fahrenheit (175 degrees Celsius).
- Grease a large pie dish or baking dish.
- Take 2/3 of the crumbly mixture and press it evenly into the bottom of the prepared dish to form the crust.
- Make sure the crust is firm and covers the entire bottom of the dish.
- Add Bananas and Filling:
- Arrange the banana slices evenly over the crust.
- Pour the liquid mixture (egg, milk, and condensed milk mixture) over the banana slices, ensuring they are well-covered.
- Sprinkle the remaining 1/3 of the crumbly mixture over the top of the filling.
Step 5: Bake the Pie 7. Bake:
- Place the pie in the preheated oven.
- Bake for 1 hour or until the top is golden brown and the filling is set.
- The pie should be firm to the touch and not wobbly in the center.
- Cool and Serve:
- Once baked, remove the pie from the oven and let it cool on a wire rack.
- Allow it to cool completely before slicing to ensure the filling sets properly.
- Serve the pie warm or at room temperature.
Tips for Success:
- Bananas: Use ripe but firm bananas for the best flavor and texture. Overripe bananas might become too mushy during baking.
- Butter: Ensure the butter is cold when making the crumbly mixture. This helps create a flaky texture in the crust.
- Lemon Juice: The lime juice not only prevents the bananas from browning but also adds a refreshing tartness that balances the sweetness of the pie.
- Baking Time: Ovens vary, so check the pie after 45 minutes. If the top is browning too quickly, cover it loosely with foil.
This banana pie is a delightful dessert that combines the sweetness of ripe bananas with a creamy, custard-like filling and a crumbly, buttery crust. It’s perfect for family gatherings, potlucks, or any occasion where you want to impress your guests with a simple yet delicious homemade treat. Make this pie at home and watch it disappear in no time. Enjoy!
I hope you find this detailed guide helpful and that it brings joy to your kitchen. Enjoy baking and sharing this delicious banana pie with your loved ones!