Introduction
There’s something about the aroma of a homemade dish that instantly transports me back to my childhood. One recipe, in particular, holds a special place in my heart – the Hatch Chile Dip. Just the mention of it brings back memories of lazy summer afternoons spent in the kitchen with my grandmother, roasting and peeling those vibrant green chiles. The combination of flavors, the creamy texture, and the hint of heat make this dip truly irresistible. Let me take you on a journey and share the magic of this beloved family recipe.
Why This Recipe is a Must-Try
There are countless reasons why this Hatch Chile Dip stands out among other appetizers. First and foremost, it’s incredibly easy to make. With just a handful of ingredients and a few simple steps, you can whip up a crowd-pleasing dip in no time. Secondly, it’s a versatile dish that can be enjoyed in various ways. Whether you’re looking for a quick snack, a party appetizer, or a flavorful topping for your favorite dishes, this dip has got you covered. Thirdly, it’s perfect for meal prep. You can make a big batch and store it for later use, making it a convenient option for busy days. Lastly, it’s a great way to introduce your taste buds to the unique flavors of Hatch chiles. If you haven’t experienced the incredible taste of these peppers, this dip is the perfect introduction.
A Look at the Ingredients
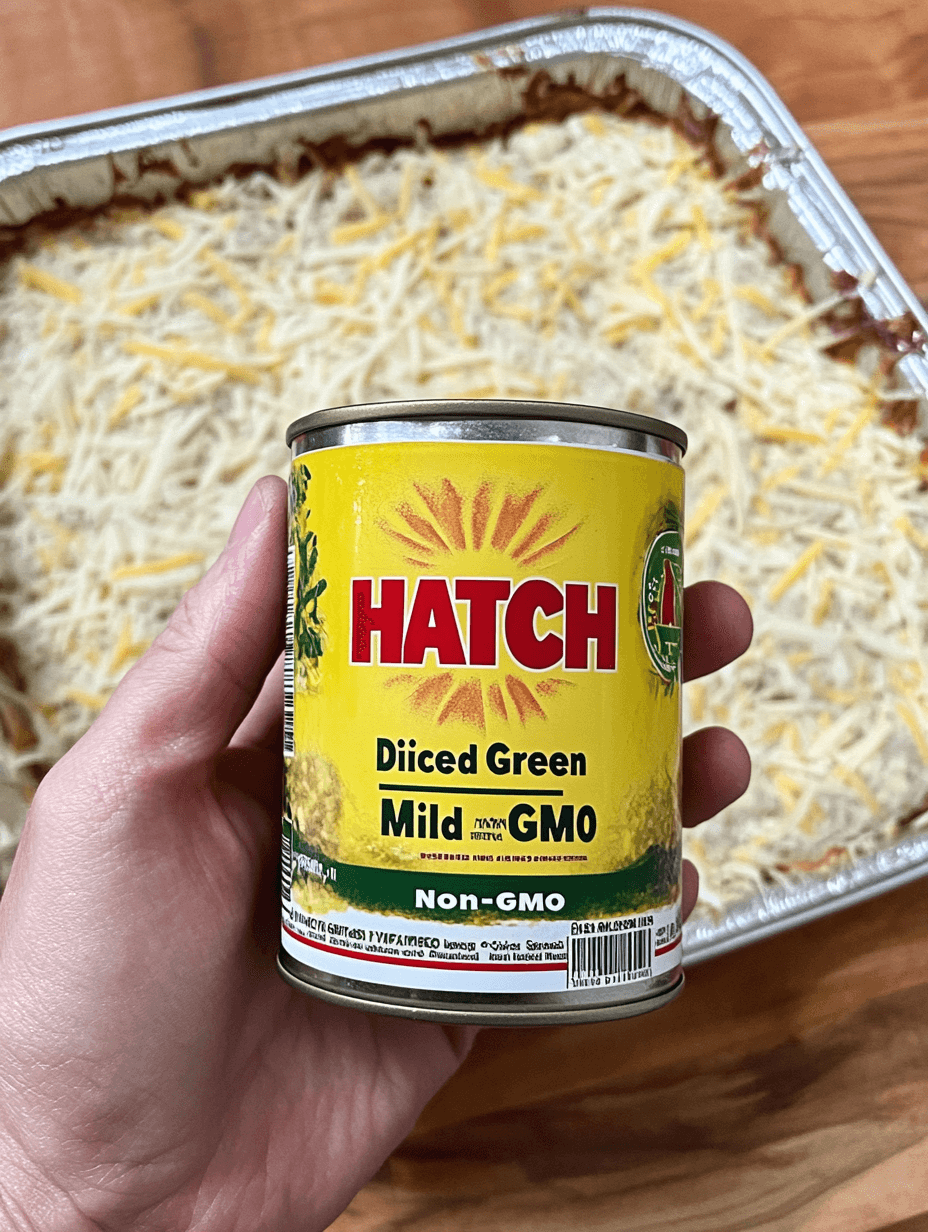
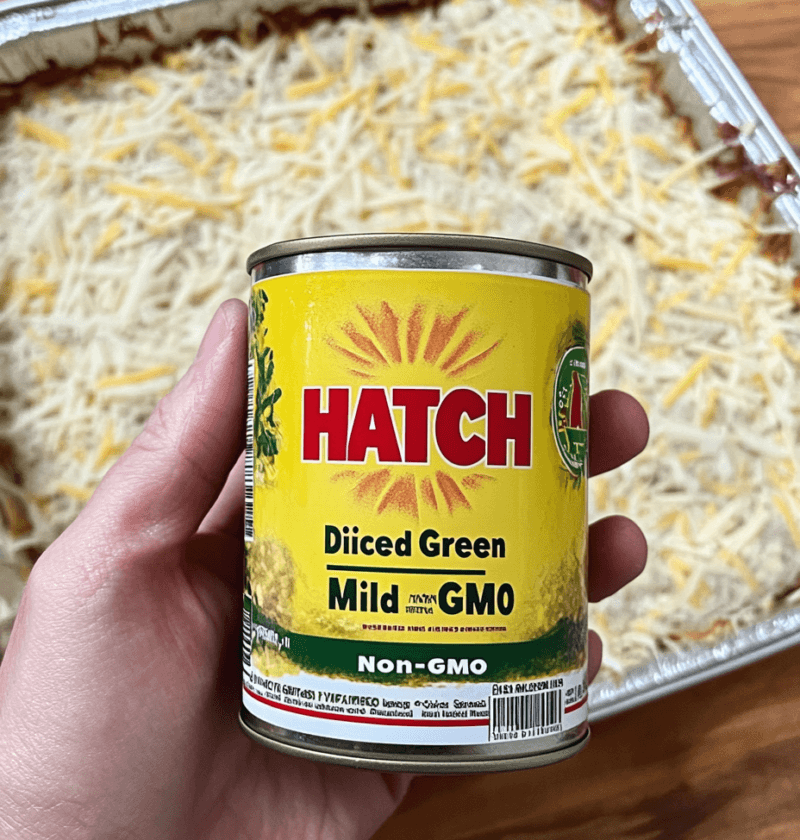
Let’s dive into the key ingredients that make this Hatch Chile Dip so delectable. First and foremost, you’ll need a generous amount of roasted Hatch chiles. These chiles are the star of the show, bringing a smoky and slightly spicy flavor to the dip. If you can’t find Hatch chiles in your area, you can use Anaheim or Poblano peppers as a substitute. Next, you’ll need cream cheese, which adds a creamy and luscious texture to the dip. To enhance the flavor, shredded Monterey Jack cheese is a must. It melts beautifully and adds a delightful cheesiness to the dip. Finally, don’t forget the garlic, salt, and pepper to season the dip to perfection.
Variation: Customizing Your Dip
While this Hatch Chile Dip is already a winner, there are endless possibilities for customization. If you prefer a spicier kick, you can add some diced jalapeños or even a sprinkle of cayenne pepper. For those who enjoy a creamier dip, feel free to add an extra dollop of cream cheese or a splash of heavy cream. If you’re a fan of bold flavors, consider mixing in some crumbled bacon or chopped fresh cilantro. Don’t be afraid to get creative and make this dip your own!
Step-by-Step Instructions
Now that we’ve covered the essentials, let’s dive into the step-by-step process of making this mouthwatering Hatch Chile Dip.
1. Preheat your broiler to high and place the Hatch chiles on a baking sheet. Broil for about 5 minutes per side or until the skin is charred and blistered. Remove from the oven and transfer the chiles to a plastic bag. Let them steam for 10 minutes to loosen the skin.
2. Once the chiles have cooled, peel off the skin and remove the stems and seeds. Chop the chiles into small pieces and set aside.
3. In a mixing bowl, combine the cream cheese, shredded Monterey Jack cheese, minced garlic, salt, and pepper. Mix until well combined and smooth.
4. Gently fold in the chopped Hatch chiles, ensuring they are evenly distributed throughout the dip.
5. Transfer the dip to a serving dish and garnish with additional chopped chiles or a sprinkle of shredded cheese.
6. Serve immediately with tortilla chips, crackers, or fresh vegetables.
FAQ: Common Questions About Hatch Chile Dip
Q: Can I make this dip ahead of time?
A: Absolutely! This dip can be prepared in advance and refrigerated until ready to serve. Simply cover it tightly with plastic wrap or transfer it to an airtight container.
Q: How can I store the leftovers?
A: If you happen to have any leftovers (which is unlikely!), store them in the refrigerator in an airtight container for up to 3 days.
Q: What’s the best way to reheat the dip?
A: To reheat the dip, simply transfer it to an oven-safe dish and bake at 350°F (175°C) for about 15 minutes or until heated through. Alternatively, you can microwave it in short intervals, stirring occasionally, until warmed to your liking.
Final Thoughts: A Dip Worth Sharing
As I wrap up this journey through the world of Hatch Chile Dip, I hope you’re inspired to give this cherished recipe a try. Whether you’re a seasoned cook or a beginner in the kitchen, this dip is sure to impress. It has the power to bring people together, spark conversations, and create lasting memories. So go ahead, make this dip your own, and let it become a staple in your recipe collection. I promise you won’t be disappointed!