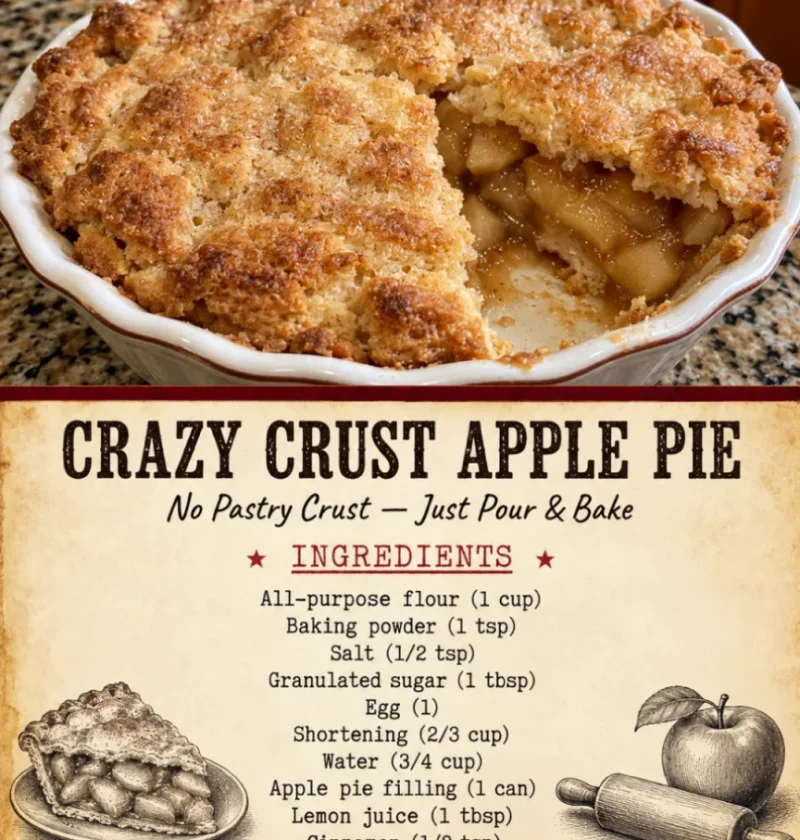
There’s something undeniably comforting about a homemade apple pie, and the Crazy Crust Apple Pie brings that warmth to a new level. This unique recipe combines the classic flavors of traditional apple pie with an innovative crust that is both buttery and flaky, yet surprisingly simple to make. Hailing from the heart of American cuisine, this pie is a nod to the timeless tradition of baking with fresh, seasonal fruits. As the scent of sweet cinnamon wafts through your home, it evokes memories of family gatherings and fall festivities. This isn’t just any apple pie; it’s a beloved dessert that speaks to the soul and delights the senses. The combination of tart and sweet apples, along with the rich, flaky crust, creates a harmony that makes each bite a celebration of flavor. Each slice is a reminder of cozy evenings and the joy of sharing food with loved ones, making this pie a perfect centerpiece for any gathering. The joy of creating this dessert lies not just in the final result, but in the process itself, as you engage in a timeless tradition of baking that has been passed down through generations.
Ingredients
To make the Crazy Crust Apple Pie, gather the following ingredients: You can learn more about this topic. As you prepare, keep in mind the importance of choosing the right apples and high-quality ingredients for the best results. Each element contributes significantly to the overall taste and texture of the pie, so select with care. The right mix of apples will yield a filling that is not only flavorful but also has the perfect balance of sweetness and tartness, enhancing the overall experience of the pie.
- For the crust:
- 2 cups all-purpose flour
- 1 teaspoon salt
- 1 teaspoon sugar
- 1 cup unsalted butter, cold and cubed
- 1/4 cup ice water (more if needed)
- For the apple filling:
- 6-8 medium apples (a mix of Granny Smith and Honeycrisp is ideal for a balance of sweet and tart; consider using a couple of Fuji apples for extra sweetness)
- 3/4 cup sugar
- 1 tablespoon lemon juice (freshly squeezed is best for flavor; it brightens the filling)
- 1 teaspoon ground cinnamon (more if you love that warm spice flavor)
- 1/4 teaspoon nutmeg (optional, but adds depth; fresh nutmeg can elevate the taste even further)
- 2 tablespoons all-purpose flour (to thicken and absorb juices; this is crucial for a non-soggy filling)
- 1 tablespoon unsalted butter, for dotting on top (this enhances the richness of the pie)
Ensure your ingredients are fresh, especially the apples, as they are the star of the pie. Choose the best apples for baking to achieve that perfect texture and flavor in your filling. Firm and crisp apples hold their shape during baking, providing a delightful contrast to the tender crust. Check out our related guide for more tips on selecting the best apples and other pie-making essentials. Remember that the quality of your butter can also significantly impact the flakiness of your crust; opt for high-fat butter for the best results. Fresh spices, particularly cinnamon and nutmeg, can also elevate the overall flavor profile, making your pie even more aromatic and inviting.
Steps / Instructions
- Prepare the crust: In a large bowl, mix the flour, salt, and sugar together until well combined. Cut in the cold butter using a pastry cutter or two forks until the mixture resembles coarse crumbs, with pea-sized bits of butter still visible. This step is crucial as the small pieces of butter will create the flakiness we desire in the crust. You should see small, visible pieces of butter throughout the flour mixture, which will ultimately result in that delightful texture.
- Gradually add the ice water, one tablespoon at a time, mixing until the dough just comes together. You may need to add a little more water, but be careful not to overwork the dough; it should still look a bit shaggy and should not be sticky. This is critical for achieving the right texture. If the dough feels too crumbly, you can add an extra tablespoon of ice water, but ensure it remains manageable and does not become overly wet.
- Divide the dough in half, shape each half into a disk, wrap in plastic wrap, and refrigerate for at least 1 hour. Chilling the dough helps to relax the gluten, which is key for a tender crust. If you’re short on time, even a 30-minute chill can make a difference. This step is essential as it will allow the butter to firm up again, ensuring a flaky texture when baked.
- Make the apple filling: While the dough is chilling, peel, core, and slice the apples into thin wedges, about 1/4 inch thick. Toss the apple slices in a large bowl with sugar, lemon juice, cinnamon, nutmeg (if using), and flour until well coated. Set aside to let the flavors meld; this resting time will enhance the pie’s taste. Allowing the apples to sit for about 10-15 minutes will help them release some juices, which enriches the filling. This step is also key for balancing the sweetness and acidity of the apples.
- Preheat the oven: Preheat your oven to 425°F (220°C). Proper preheating ensures that your crust will bake evenly and become beautifully golden. A hot oven will also help the crust rise properly, creating a lovely texture. Make sure your oven is fully preheated before placing the pie inside; this will get the crust crisp from the start.
- Roll out the dough: On a floured surface, roll out one disk of chilled dough to fit your pie pan. Aim for a thickness of about 1/8 inch to ensure a sturdy base while still being delicate. Transfer it to a 9-inch pie plate, trimming any excess dough hanging over the edges, and crimp the edges for a decorative finish. If you find the dough sticking, sprinkle a bit more flour on the surface or the rolling pin to maintain ease of movement.
- Fill the pie: Pour the apple mixture into the prepared crust, making sure to distribute the apples evenly. Dot the filling with small pieces of butter, which will melt and enrich the flavors as the pie bakes, creating a delicious sauce. Try to arrange the apples in a manner that looks appealing, as this will enhance the presentation when you serve the pie.
- Top the pie: Roll out the second disk of dough and place it over the filling. You can either cut slits for a lattice effect or simply place it whole on top. If using a whole top crust, cut a few slits for steam to escape, which helps prevent the pie from becoming watery. You can also brush the top crust with an egg wash for a beautiful golden finish, which adds not only color but also a nice sheen.
- Bake the pie: Bake the pie in the preheated oven for 15 minutes. Then, reduce the temperature to 350°F (175°C) and continue baking for an additional 35-45 minutes, or until the apples are tender and the crust is golden brown. Keep an eye on the crust; if it starts to brown too quickly, cover the edges with foil to prevent burning. A pie shield can also help protect the edges if you have one.
- Cool and serve: Let the pie cool on a wire rack for at least 2 hours before slicing. This allows the filling to set and makes for cleaner slices. Serve warm with a scoop of vanilla ice cream or a drizzle of caramel sauce for an extra treat! Serving the pie with ice cream adds a delightful contrast between the warm pie and the cold cream, enhancing the overall tasting experience.
Tips & Tricks
To ensure your Crazy Crust Apple Pie turns out perfectly, consider the following tips:
- Quality Ingredients: Use high-quality butter and fresh, seasonal apples to enhance flavor. The better the ingredients, the better your pie will taste. For instance, organic apples often have a more robust flavor that positively impacts your pie. Additionally, sourcing local ingredients when possible can elevate the freshness.
- Chill Your Ingredients: Keeping your butter and dough cool is crucial for a flaky pie crust. You can even chill your mixing bowl and utensils beforehand to keep everything at the right temperature, ensuring a successful bake. If your kitchen tends to be warm, consider placing the butter in the freezer for a few minutes before using.
- Make Ahead: The crust can be made in advance and stored in the refrigerator for up to 3 days or frozen for up to a month. Simply thaw before using, ensuring it stays cold for optimal flakiness. The filling can also be prepped a day ahead for convenience, allowing the flavors to develop even further.
- Prevent a Soggy Bottom: To avoid a soggy crust, consider pre-baking the bottom crust for about 10 minutes before adding the filling. This technique helps set the crust and keeps it crisp. Additionally, placing a baking sheet on the rack below can catch any drips, ensuring your oven stays clean.
- Storage: Store leftover pie in the refrigerator, covered, for up to 3 days. Reheat slices in the oven for a warm treat, or enjoy them cold as a delightful breakfast option. The pie also freezes beautifully, allowing you to save some for later! Just wrap it tightly or use an airtight container for the best results. If freezing, consider slicing the pie beforehand so you can easily grab a piece at a time.
Conclusion
The Crazy Crust Apple Pie is not just a dessert; it’s a celebration of flavors and textures that capture the essence of family gatherings and fall festivities. With its easy apple pie recipe and simple pastry techniques for pie, anyone can master this comforting dessert. So gather your ingredients, roll up your sleeves, and indulge in the warm, sweet cinnamon flavor that makes this pie a classic American dessert. You’ll be glad you did! Your family and friends will be asking for seconds, and it may just become your new go-to recipe for special occasions. Remember, the heart of this pie lies in the love and care you put into it, making every slice even more special. As you share this pie, not only will you be sharing a delicious treat, but you’ll also be creating lasting memories around the table.
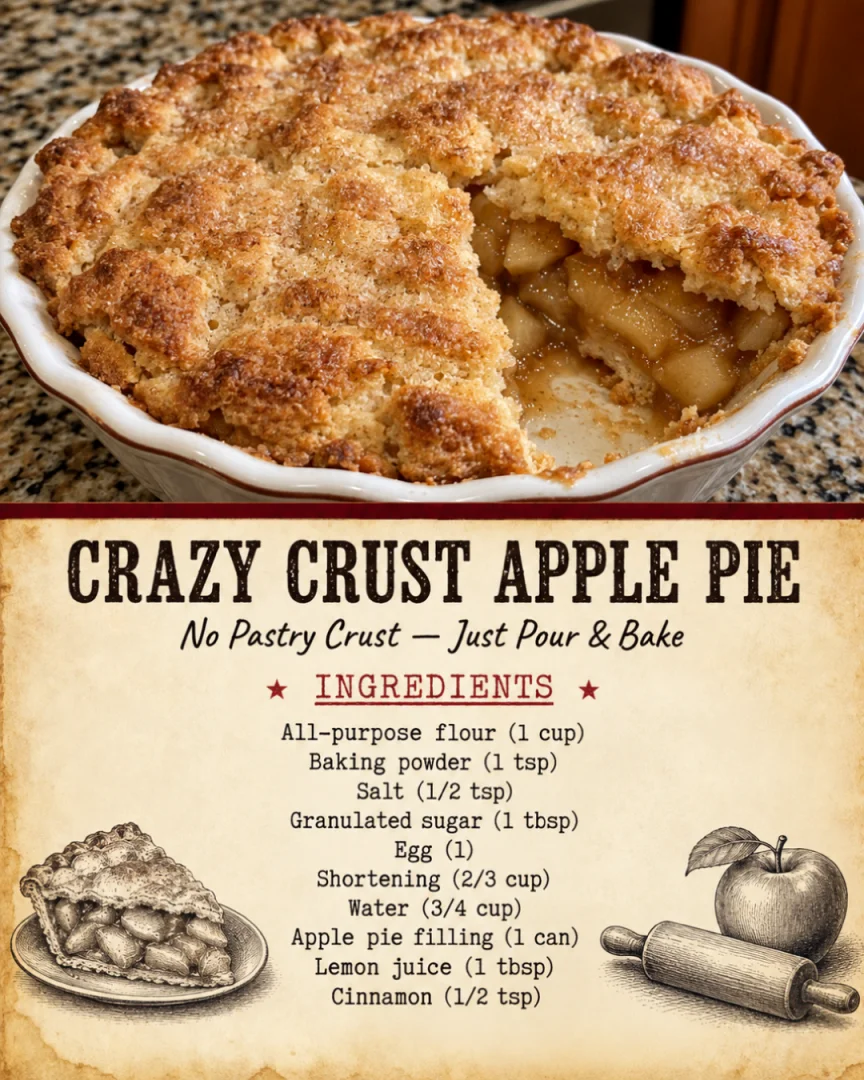
Crazy Crust Apple Pie
A unique recipe that combines the classic flavors of traditional apple pie with an innovative crust that is both buttery and flaky, yet surprisingly simple to make.
Ingredients
- For the crust:
- 2 cups all-purpose flour
- 1 teaspoon salt
- 1 teaspoon sugar
- 1 cup unsalted butter, cold and cubed
- 1/4 cup ice water (more if needed)
- For the apple filling:
- 6-8 medium apples (mix of Granny Smith and Honeycrisp; consider using Fuji for sweetness)
- 3/4 cup sugar
- 1 tablespoon lemon juice (freshly squeezed is best)
- 1 teaspoon ground cinnamon
- 1/4 teaspoon nutmeg (optional)
- 2 tablespoons all-purpose flour
- 1 tablespoon unsalted butter, for dotting on top
Directions
Prepare the crust: In a large bowl, mix flour, salt, and sugar until combined. Cut in the cold butter until the mixture resembles coarse crumbs.
Gradually add ice water, mixing until dough just comes together. Be careful not to overwork it.
Divide dough in half, shape into disks, wrap in plastic, and refrigerate for at least 1 hour.
Make the apple filling: Peel, core, and slice apples. Toss with sugar, lemon juice, cinnamon, nutmeg, and flour until coated. Let sit for 10-15 minutes.
Preheat oven to 425°F (220°C).
Roll out one disk of chilled dough on a floured surface to fit the pie pan. Transfer to a 9-inch pie plate.
Pour apple mixture into prepared crust and dot with butter.
Roll out the second disk of dough and place over the filling. Cut slits for steam to escape.
Bake the pie for 15 minutes at 425°F, then reduce to 350°F (175°C) and bake for an additional 35-45 minutes.
Cool on a wire rack for at least 2 hours before slicing. Serve warm with vanilla ice cream or caramel sauce.
Recipe Reviews
- ★★★★★
Excellent recipe!
Leave a Reply
Your email address will not be published. Required fields are marked *