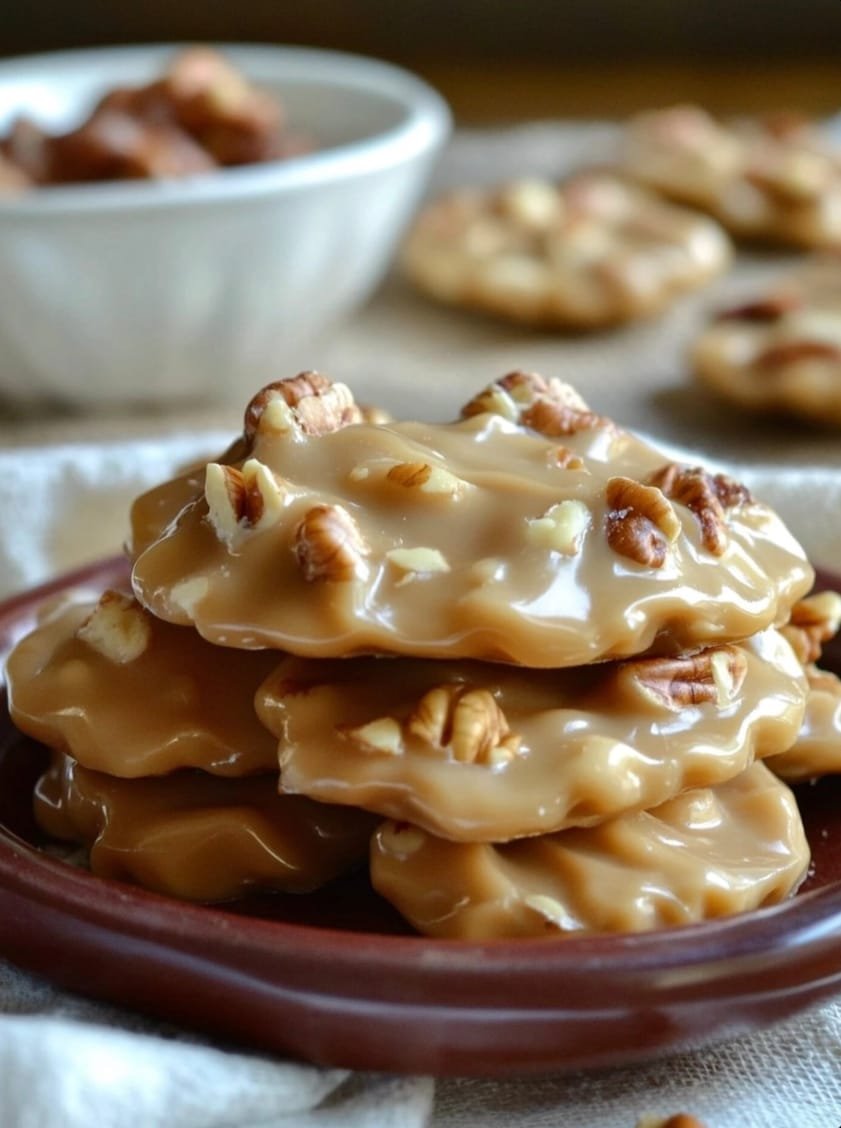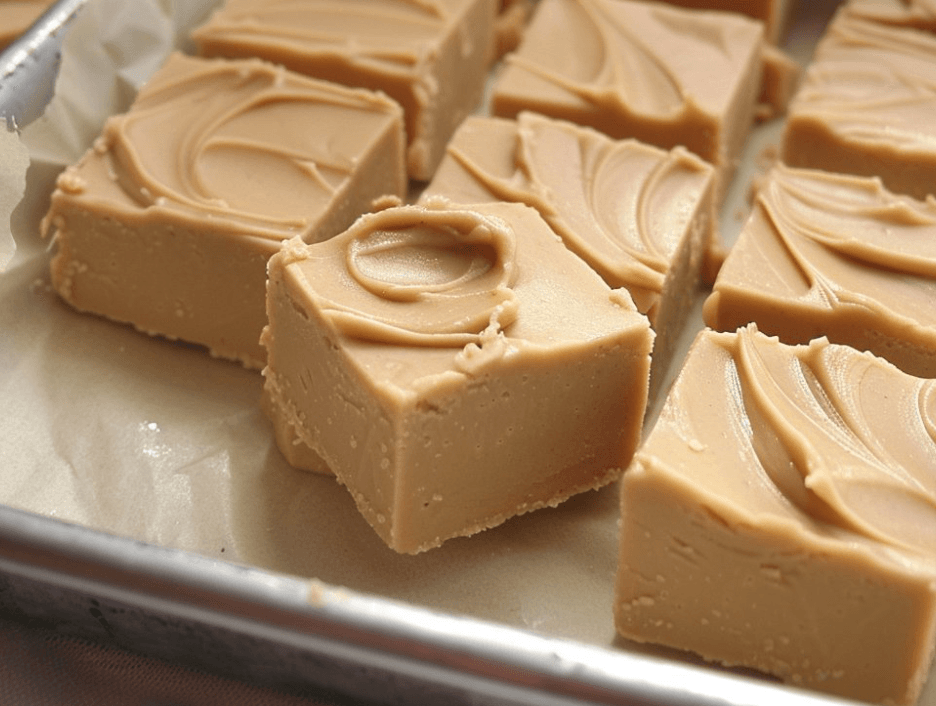
Creamy peanut butter fudge is a classic treat that combines the rich, nutty flavor of peanut butter with the smooth, melt-in-your-mouth texture of fudge. This recipe is perfect for satisfying your sweet tooth and makes a delightful homemade gift for friends and family. With just a few simple ingredients and straightforward steps, you can create a batch of this delectable fudge in no time. In this blog post, we’ll walk you through each step, offer tips and variations, and answer common questions to ensure your fudge turns out perfectly every time.
Ingredients:
- ½ cup unsalted butter
- 2 cups light brown sugar
- 5 ounces half & half
- 1 cup creamy peanut butter
- 2 teaspoons vanilla extract
- 3 cups powdered sugar
Instructions:
WANT TO SAVE THIS RECIPE?
Enter your email below & we'll send it straight to your inbox.
Plus you'll get great new recipes from us every week!
- Prepare Your Pan:
- Line an 8×8 inch baking dish with parchment paper, leaving some overhang on the sides to easily lift the fudge out later. Lightly grease the parchment paper. This will ensure your fudge doesn’t stick to the pan and makes it easy to remove for cutting.
- Melt the Butter:
- In a medium saucepan, melt the unsalted butter over medium heat. Stir occasionally to prevent the butter from burning. Melting the butter first helps create a smooth base for your fudge.
- Add Sugar and Half & Half:
- Once the butter has melted, add the light brown sugar and half & half to the saucepan. Stir continuously until the mixture begins to boil. The half & half adds creaminess to the fudge, while the brown sugar provides a rich, caramel-like flavor.
- Boil the Mixture:
- Allow the mixture to boil for 2-3 minutes, continuing to stir to prevent burning. Boiling the mixture ensures that the sugar dissolves completely and helps achieve a smooth consistency for your fudge.
- Incorporate Peanut Butter:
- Remove the saucepan from the heat and stir in the creamy peanut butter and vanilla extract until the mixture is smooth and well combined. The peanut butter adds a rich, nutty flavor, while the vanilla extract enhances the overall taste.
- Mix in Powdered Sugar:
- Gradually add the powdered sugar, about 1 cup at a time, mixing thoroughly after each addition. It may be easier to switch to a hand mixer or stand mixer for this step to ensure the fudge mixture is smooth and lump-free. The powdered sugar helps set the fudge and gives it a firm yet creamy texture.
- Pour into the Pan:
- Pour the fudge mixture into the prepared baking dish, spreading it evenly with a spatula. Smooth the top for an even finish. This will ensure your fudge pieces look neat and professional.
- Cool and Set:
- Let the fudge cool at room temperature for about an hour. Then, transfer it to the refrigerator and let it chill for at least 2 hours or until fully set. Cooling the fudge in the refrigerator helps it firm up and makes it easier to cut into squares.
- Cut and Serve:
- Once the fudge is set, lift it out of the pan using the parchment paper overhang. Cut into small squares with a sharp knife. Serve immediately or store in an airtight container. Properly stored, your fudge can last for up to two weeks in the refrigerator or up to three months in the freezer.
Cook’s Notes:
- For extra flavor, you can sprinkle a bit of sea salt on top of the fudge before it sets. This adds a delightful contrast to the sweetness of the fudge.
- Ensure that the powdered sugar is sifted to avoid any lumps in your fudge. Lumps can affect the texture and smoothness of the final product.
- This fudge can be stored in the refrigerator for up to 2 weeks or frozen for up to 3 months. For best results, store the fudge in an airtight container to maintain its freshness and texture.
Variations:
- Chocolate Peanut Butter Fudge:
- For a chocolate twist, melt 1 cup of semi-sweet chocolate chips and swirl them into the fudge mixture before pouring it into the pan. This creates a marbled effect and adds a rich chocolate flavor.
- Crunchy Peanut Butter Fudge:
- Substitute creamy peanut butter with crunchy peanut butter to add texture and a delightful crunch to your fudge.
- Peanut Butter and Jelly Fudge:
- After pouring the fudge mixture into the pan, drop spoonfuls of your favorite jelly or jam on top and swirl with a knife. This variation combines the classic flavors of peanut butter and jelly in a delicious fudge form.
- Peanut Butter Pretzel Fudge:
- Mix in 1 cup of crushed pretzels to the fudge mixture before pouring it into the pan. The pretzels add a salty crunch that pairs perfectly with the creamy sweetness of the fudge.
- Keto Peanut Butter Fudge:
- For a low-carb version, replace the powdered sugar with a keto-friendly sweetener like powdered erythritol. Ensure that the peanut butter you use is also sugar-free.
FAQs:
WANT TO SAVE THIS RECIPE?
Enter your email below & we'll send it straight to your inbox.
Plus you'll get great new recipes from us every week!
- Can I use natural peanut butter for this recipe?
- Yes, you can use natural peanut butter, but ensure it’s well-stirred to incorporate the oils before adding it to the mixture. Natural peanut butter may also result in a slightly softer fudge.
- Why did my fudge turn out grainy?
- Grainy fudge is often a result of undissolved sugar. Make sure to boil the mixture long enough to dissolve the sugar completely and stir continuously.
- Can I double the recipe?
- Yes, you can double the recipe. Use a larger baking dish, such as a 9×13 inch pan, and ensure all ingredients are proportionally increased.
- How can I store leftover fudge?
- Store leftover fudge in an airtight container in the refrigerator for up to 2 weeks. For longer storage, wrap the fudge pieces individually and freeze them in an airtight container for up to 3 months.
- Can I use a different type of sugar?
- Light brown sugar is recommended for its caramel flavor, but you can use dark brown sugar for a richer taste. White granulated sugar can be used, but it will alter the flavor and color of the fudge.
Creamy peanut butter fudge is a delightful treat that’s easy to make and loved by many. Whether you’re preparing it for a special occasion or simply to satisfy a sweet craving, this recipe is sure to be a hit. With the variations and tips provided, you can customize the fudge to suit your preferences and dietary needs. Give this recipe a try, and enjoy the rich, creamy goodness of homemade peanut butter fudge!
Feel free to add images or step-by-step photos to enhance the visual appeal of your blog post. Happy cooking!