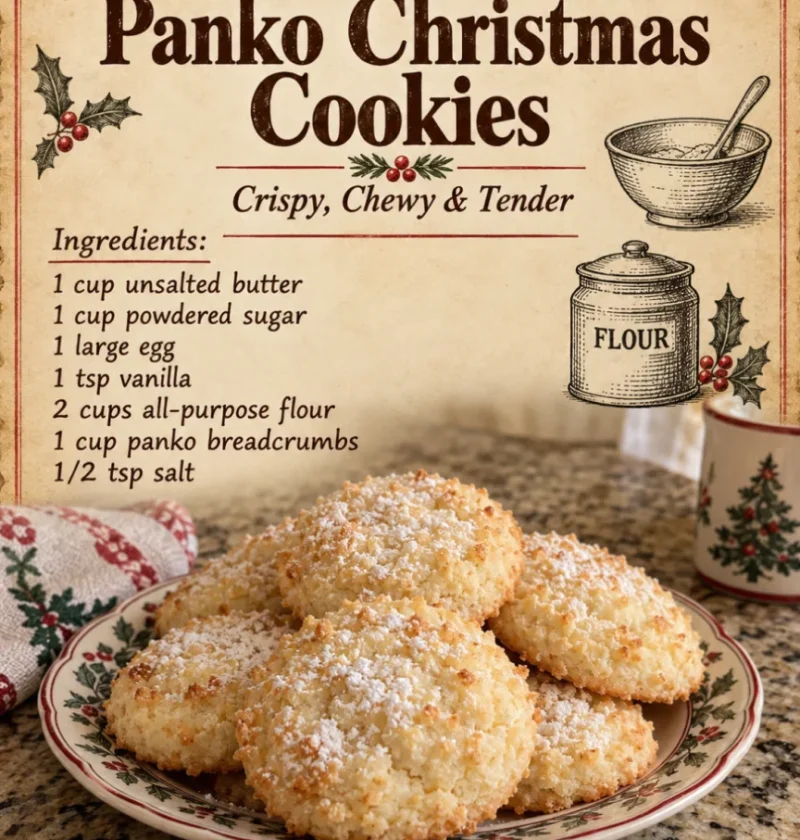
As the holiday season approaches, many of us find ourselves immersed in the joyful tradition of baking delicious treats. Among the various options, Panko Christmas Cookies stand out as a unique and delightful addition to your festive repertoire. These cookies, incorporating panko breadcrumbs, offer a fascinating twist on traditional baking, providing a sweet, crunchy texture that is sure to impress family and friends. The use of Japanese breadcrumbs not only enhances the flavor but also adds a delightful crunch that elevates these cookies above the ordinary. They represent a perfect fusion of traditional cookie-making with innovative ingredients, making them an exciting choice for those looking to add something special to their holiday cookie tray. Join me as we explore this delightful recipe that marries the joy of Christmas with a creative culinary twist that can be the highlight of your holiday dessert table. Whether you are baking for family gatherings, holiday parties, or gifting to friends, these cookies will be a standout treat that everyone will love. The incorporation of panko breadcrumbs not only provides a wonderful texture but also makes these cookies a conversation starter, reflecting the blend of cultures during the festive season. Imagine the delight on your guests’ faces as they bite into these uniquely crunchy cookies, each one brimming with familiar holiday flavors.
Ingredients
Gather your ingredients for these Panko Christmas Cookies to ensure a smooth baking experience. Having all your ingredients measured and ready will help you to work efficiently. Here’s what you’ll need: You can learn more about this topic.
- Dry Ingredients:
- 1 ½ cups all-purpose flour
- 1 cup panko breadcrumbs
- ½ teaspoon baking powder
- ½ teaspoon baking soda
- ¼ teaspoon salt
- Wet Ingredients:
- ½ cup unsalted butter, softened
- 1 cup granulated sugar
- 1 large egg
- 1 teaspoon vanilla extract
- 1 tablespoon milk
- Mix-ins:
- ½ cup chocolate chips (or festive sprinkles)
- ¼ cup chopped nuts (optional)
Note: For a gluten-free alternative, substitute all-purpose flour with a gluten-free blend, ensuring it contains xanthan gum for structure. Additionally, be sure to use gluten-free panko breadcrumbs, which are becoming increasingly available. This ensures that everyone can enjoy these delightful Panko Christmas Cookies without compromising on taste or texture. You can also explore the use of almond flour for a nutty flavor, or coconut flour for a tropical twist. Check out our related guide for more tips on ingredient substitutions and enhancing flavors, as well as exploring variations that can accommodate food allergies or preferences. Remember, selecting high-quality ingredients can significantly impact the final taste, so consider sourcing organic butter and fresh eggs for optimal flavor and texture in your cookies.
Steps / Instructions
- Preheat the Oven: Preheat your oven to 350°F (175°C). This step is crucial to ensuring that the cookies bake evenly and turn out golden brown. Line a baking sheet with parchment paper to prevent sticking and make cleanup easier. For an extra touch, you can lightly grease the parchment paper with a bit of butter or non-stick spray. This small detail can give your cookies an extra crispiness on the bottom that many enjoy.
- Prepare Dry Ingredients: In a medium bowl, whisk together the flour, panko breadcrumbs, baking powder, baking soda, and salt. This blend will create a delightful texture and flavor in your cookies, with the panko adding a unique crunch that contrasts beautifully with the soft sweetness of the cookie base. Make sure there are no lumps in the flour to ensure an even consistency throughout the dough. A fine sifter can be particularly helpful here, ensuring everything is well-combined and airy.
- Mix Wet Ingredients: In a large mixing bowl, cream the softened butter and sugar together until light and fluffy, about 3-5 minutes. This process incorporates air, contributing to the cookies’ overall texture. The mixture should look pale and have a creamy consistency, which is perfect for ensuring that your cookies rise well. Using an electric mixer on medium speed can help achieve the desired fluffiness more easily. If you don’t have an electric mixer, a simple wooden spoon will do; just be prepared to put in a bit of elbow grease!
- Add Egg and Flavor: Beat in the egg, vanilla extract, and milk until well combined. The mixture should be smooth and creamy, creating a cohesive base for your cookie dough that enhances the flavor and moisture content. You can add a pinch of cinnamon or nutmeg to this mixture for an additional layer of flavor that evokes the comforting essence of the season. These warm spices can really elevate the cookies, making them reminiscent of holiday baking traditions.
- Combine Ingredients: Gradually add the dry ingredient mixture to the wet ingredients, stirring until just combined. Avoid overmixing to keep your cookies tender; you want the dough to come together without developing too much gluten, which could make your cookies tough. If the dough appears too sticky, you may add a small amount of flour until it reaches a manageable consistency. The dough should be slightly sticky but still hold its shape when scooped, indicating it’s ready for the next step.
- Fold in Mix-ins: Gently fold in the chocolate chips and nuts, if using, ensuring they are evenly distributed throughout the batter. This step is where you can customize your cookies to suit your taste, whether you prefer the rich flavor of dark chocolate or the sweetness of white chocolate. Consider using seasonal mix-ins like dried cranberries or chopped peppermint for a festive flair. Be careful not to overwork the dough during this step to maintain the light texture of the cookies.
- Shape the Cookies: Using a tablespoon or cookie scoop, drop heaping spoonfuls of dough onto the prepared baking sheet, spacing them about 2 inches apart. This spacing allows for even spreading as they bake. For a fun variation, you can sprinkle a bit of sea salt on top for added flavor, enhancing the sweet and salty contrast that many cookie lovers appreciate. Each scoop should be generous to ensure the cookies come out soft and chewy.
- Bake: Bake the cookies in the preheated oven for 10-12 minutes, or until the edges are golden brown, and the centers have set but are still soft to the touch. Keep an eye on them, as every oven is different, and you want to catch them just before they overbake. If you prefer a chewier cookie, remove them from the oven a minute or two earlier. The unique texture from the panko breadcrumbs means that they might not look as done as traditional cookies, so trust your instincts!
- Cool: Allow the cookies to cool on the baking sheet for 5 minutes before transferring them to a wire rack to cool completely. This resting time allows them to firm up a little, making them easier to handle. As they cool, you can start to smell the enticing aroma of the cookies wafting through your kitchen, adding to the festive atmosphere. This is the perfect opportunity to prepare some hot cocoa or eggnog for an enjoyable holiday treat pairing.
Tips & Tricks
To ensure your Panko Christmas Cookies turn out perfectly, consider these expert tips:
- Storage: Store your cookies in an airtight container at room temperature for up to a week. If you want to keep them longer, freeze the baked cookies in a single layer before transferring them to a freezer bag. When ready to enjoy, simply thaw at room temperature or pop them in the microwave for a few seconds. For extra freshness, consider adding a slice of bread to the container, as it will help maintain moisture. Using parchment paper between layers of cookies can also prevent them from sticking together.
- Make Ahead: Prepare the dough in advance and refrigerate it for up to 3 days. When ready to bake, simply scoop and bake directly from the fridge. This can be a real time-saver during the busy holiday season, allowing you to bake fresh cookies with minimal effort. Alternatively, you can freeze the dough in cookie-sized balls, so you can bake a few at a time as the craving strikes. Thawing in the fridge overnight before baking helps maintain texture and flavor.
- Common Mistakes to Avoid: Ensure your butter is at room temperature for easier creaming. Cold butter doesn’t cream well and can result in a denser cookie. Also, be careful not to overmix the dough once the flour is added, as this can lead to tough cookies that lack the desirable softness. Always measure your flour correctly, preferably by spooning it into the measuring cup and leveling it off, to avoid dense cookies. Mistakes in measurement can lead to disappointing results, so accuracy is key!
- Texture Enhancements: Experiment with adding other texture-enhancing ingredients, such as a pinch of cornstarch or different types of chocolate, to vary the flavor and crunch. You might also consider incorporating oats or toasted coconut to give your cookies a different dimension. Additionally, a sprinkle of zest from an orange or lemon can elevate the flavor profile, making it more vibrant and refreshing. Adding a dollop of caramel sauce into the center of each cookie before baking can create a lovely surprise for those who bite into it.
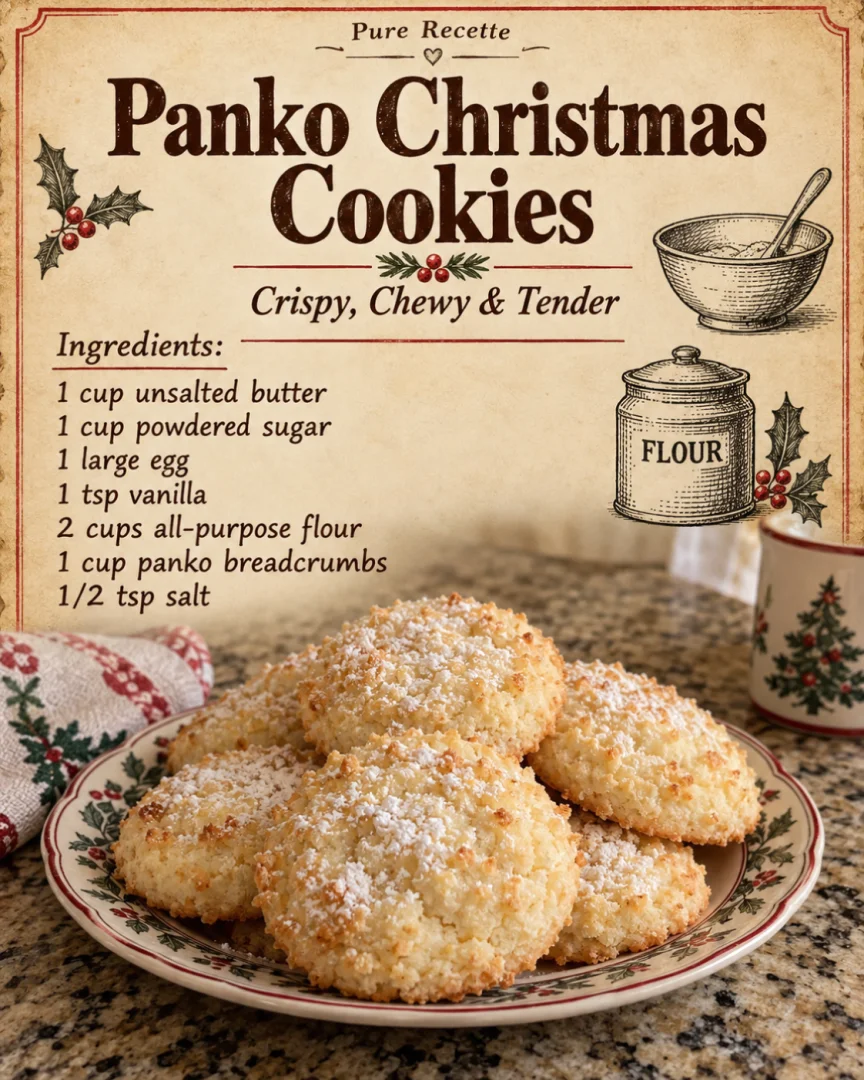
Panko Christmas Cookies
These cookies, incorporating panko breadcrumbs, offer a fascinating twist on traditional baking, providing a sweet, crunchy texture that is sure to impress family and friends.
Ingredients
- 1 ½ cups all-purpose flour
- 1 cup panko breadcrumbs
- ½ teaspoon baking powder
- ½ teaspoon baking soda
- ¼ teaspoon salt
- ½ cup unsalted butter, softened
- 1 cup granulated sugar
- 1 large egg
- 1 teaspoon vanilla extract
- 1 tablespoon milk
- ½ cup chocolate chips (or festive sprinkles)
- ¼ cup chopped nuts (optional)
Directions
Preheat your oven to 350°F (175°C) and line a baking sheet with parchment paper.
In a medium bowl, whisk together the flour, panko breadcrumbs, baking powder, baking soda, and salt.
In a large mixing bowl, cream the softened butter and sugar together until light and fluffy.
Beat in the egg, vanilla extract, and milk until well combined.
Gradually add the dry ingredient mixture to the wet ingredients, stirring until just combined.
Gently fold in the chocolate chips and nuts, if using.
Using a tablespoon or cookie scoop, drop heaping spoonfuls of dough onto the prepared baking sheet, spacing them about 2 inches apart.
Bake the cookies for 10-12 minutes, or until the edges are golden brown.
Allow the cookies to cool on the baking sheet for 5 minutes before transferring them to a wire rack.
Recipe Reviews
- ★★★★★
Excellent recipe!
Leave a Reply
Your email address will not be published. Required fields are marked *