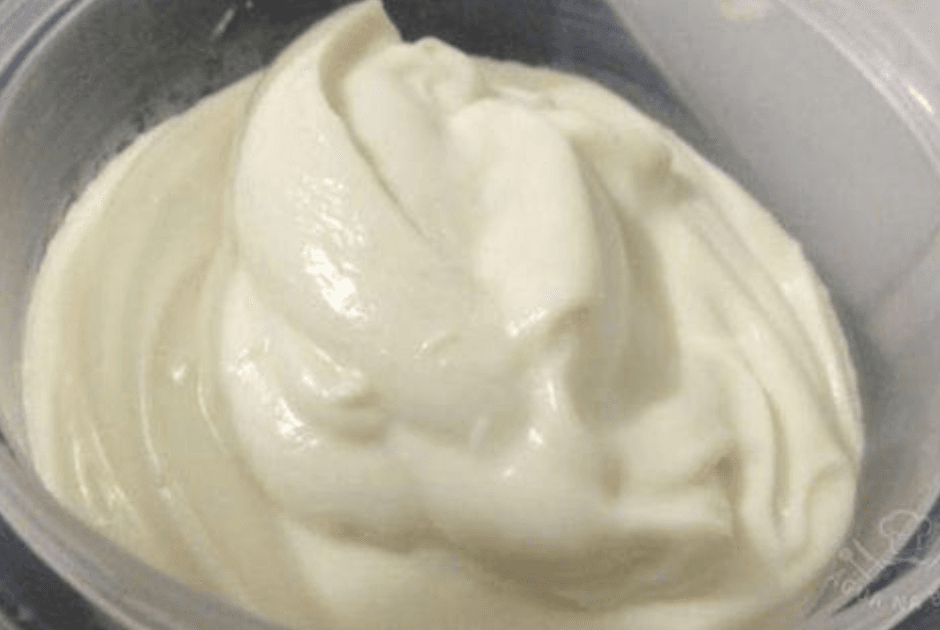
Making cream cheese at home is surprisingly simple and incredibly rewarding. With just a few ingredients, you can create a rich and creamy spread that’s perfect for bagels, baking, and a variety of dishes. In this blog post, we’ll walk you through the ingredients, instructions, and tips for making the perfect homemade cream cheese. Additionally, we’ll provide variations and address frequently asked questions to ensure you achieve the best results.
Ingredients
For the Homemade Cream Cheese:
- 2 quarts whole milk
- 1 cup heavy cream
- 1/4 cup cultured buttermilk
- 1/2 teaspoon salt
Instructions
Step 1: Prepare the Ingredients
- Combine Milk and Cream: In a large pot, combine the whole milk and heavy cream. Stir gently to mix.
- Heat the Mixture: Slowly heat the milk and cream mixture over medium-low heat until it reaches 85°F (29°C). Use a kitchen thermometer to monitor the temperature.
Step 2: Add the Buttermilk
- Add Buttermilk: Once the milk and cream mixture reaches 85°F, remove the pot from the heat. Stir in the cultured buttermilk.
- Cover and Rest: Cover the pot with a clean cloth or lid and let it sit at room temperature for 12-24 hours. This allows the cultures to ferment and thicken the mixture. The mixture should have a yogurt-like consistency when ready.
Step 3: Heat and Curdle the Mixture
- Heat to Curdle: After the resting period, heat the mixture again over low heat until it reaches 105°F (40°C). Stir gently during heating. At this temperature, the mixture should start to curdle and separate into curds and whey.
Step 4: Drain the Curds
- Prepare for Draining: Line a colander with a clean cheesecloth or muslin. Place the colander over a large bowl to catch the whey.
- Pour the Mixture: Gently pour the curdled mixture into the cheesecloth-lined colander.
- Drain: Allow the curds to drain for at least 6-12 hours or until the desired consistency is reached. For a thicker cream cheese, let it drain longer.
Step 5: Season the Cream Cheese
- Transfer to a Bowl: Once the curds have drained to your desired consistency, transfer them to a mixing bowl.
- Add Salt: Add 1/2 teaspoon of salt and mix well to incorporate.
Step 6: Store and Serve
- Store: Transfer the homemade cream cheese to an airtight container and refrigerate. It will keep for up to 1 week.
- Serve: Enjoy your homemade cream cheese on bagels, toast, or as a versatile ingredient in your favorite recipes. Enjoy!
Cooking Notes and Variations
Cooking Notes
- Temperature Control: Use a kitchen thermometer to accurately monitor the temperature of the milk and cream mixture during heating.
- Draining Time: The draining time will affect the consistency of your cream cheese. For a thicker cream cheese, let it drain longer.
Variations
- Herbed Cream Cheese: Mix in fresh or dried herbs such as chives, dill, or parsley for a flavorful variation.
- Garlic and Herb Cream Cheese: Add minced garlic and your favorite herbs for a savory twist.
- Sweet Cream Cheese: Stir in honey, maple syrup, or a fruit puree for a sweet version.
Frequently Asked Questions (FAQs)
Q1: Can I use low-fat milk instead of whole milk?
A: Whole milk is recommended for the best texture and flavor, but you can use low-fat milk if preferred. The cream cheese will be less rich and creamy.
Q2: How do I store homemade cream cheese?
A: Store the cream cheese in an airtight container in the refrigerator for up to 1 week.
Q3: Can I freeze homemade cream cheese?
A: Freezing cream cheese can change its texture, making it more crumbly. It is best enjoyed fresh.
Q4: What can I do with the leftover whey?
A: Whey can be used in smoothies, baking, soups, or as a nutritious addition to animal feed.
Q5: Can I add flavors to the cream cheese during the draining process?
A: It is best to add flavors after the draining process to ensure even distribution and to maintain the proper texture.
Making homemade cream cheese is a rewarding process that results in a delicious and versatile spread. With its rich and creamy texture, it’s perfect for a variety of culinary uses. Follow these simple steps and tips to create a tasty and satisfying cream cheese that everyone will love. Serve this delightful homemade cream cheese on your favorite bread, or use it in your recipes for an extra touch of homemade goodness.
Whether you’re looking to make a fresh batch for your breakfast, to use in baking, or to enjoy as a snack, this Creamy Homemade Cream Cheese recipe is an excellent choice. Enjoy the rich flavors and the ease of preparation, and feel free to experiment with different variations to make this recipe your own.


